

Raspberry Pi
Add Meeting Room 365 to your Raspberry Pi and connect it to your meeting room display.
Overview
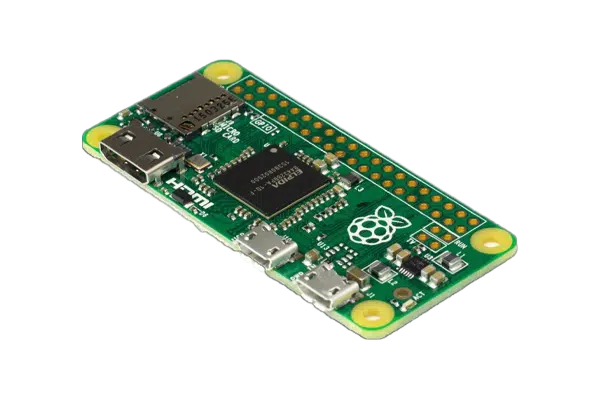
The Raspberry Pi is a popular DIY option for building affordable meeting room displays. Running Raspberry Pi OS with Chromium in kiosk mode, you can create a dedicated signage device for a fraction of the cost of commercial solutions. The Raspberry Pi connects to any TV or monitor via HDMI, and its GPIO pins can even be used for custom integrations like LED status indicators. Community support and extensive documentation make it a favorite for tech-savvy teams and maker-friendly IT departments.
Getting Started
Set up your Raspberry Pi as a meeting room display in just a few steps.
Create Your Account
Sign up for a free trial at admin.meetingroom365.com. Connect your Office 365, Exchange, or Google Workspace calendar.
Add Your Room
Add your meeting room calendar in the Meeting Room 365 admin portal. Configure display settings and themes.
Set Up Raspberry Pi OS
Flash Raspberry Pi OS to an SD card using Raspberry Pi Imager. Boot the Pi, connect to Wi-Fi, and install Chromium if not already included.
Configure Kiosk Mode
Set Chromium to launch in kiosk mode on boot with your display URL. Add a startup script to /etc/xdg/lxsession/LXDE-pi/autostart or use a systemd service.
Requirements
- Raspberry Pi 3, 4, or 5 (Pi 4 or later recommended for smooth performance)
- MicroSD card (16GB or larger)
- TV or monitor with HDMI input
- Power supply (official Raspberry Pi power supply recommended)
- Wi-Fi or Ethernet connection
- Meeting Room 365 account
- Office 365, Microsoft Exchange, or Google Workspace calendar
Tips & Best Practices
- Use Raspberry Pi 4 or later for the best browser performance
- Disable screen blanking and power management for always-on operation
- Use a Raspberry Pi case with VESA mount to attach directly behind a monitor
- Consider using a watchdog timer to automatically reboot if the system hangs
- Set Chromium to clear cache on startup to prevent memory issues over time

Ready to Get Started?
Set up your first meeting room display in minutes. No credit card required.
Start Your Free TrialNo credit card required. Cancel anytime.