This guide is for Exchange Server that you host yourself (on-premises). Meeting Room 365 connects to it through Exchange Web Services (EWS). If your rooms are in Microsoft 365 (Exchange Online), follow the Getting Started Guide for Office 365 instead. The Exchange connector doesn't accept Microsoft 365 hosts.
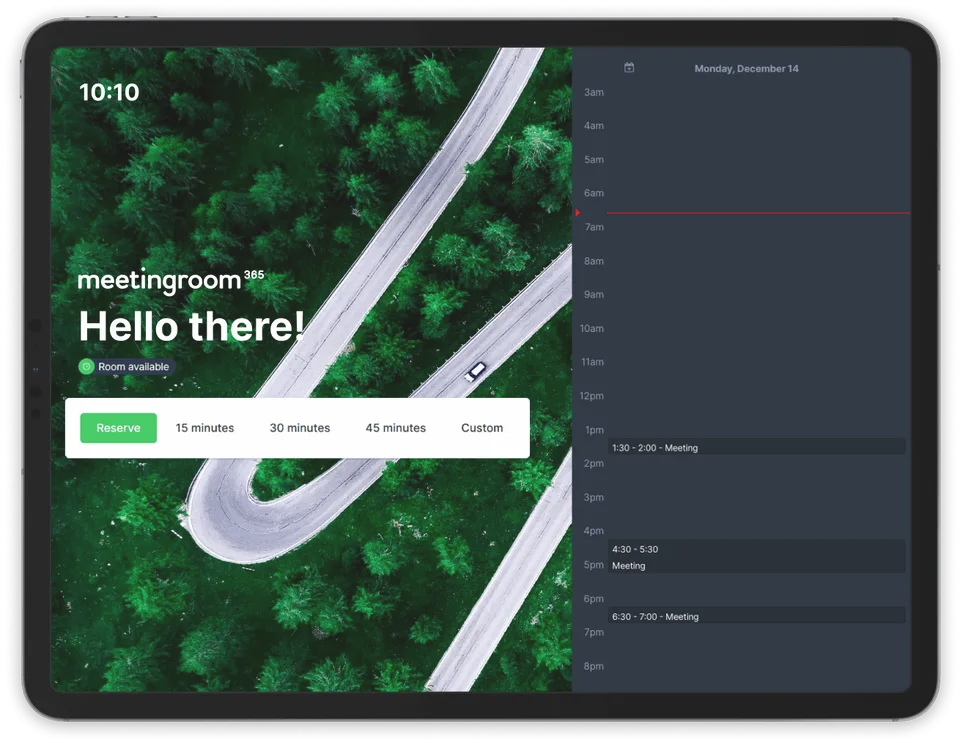
You do step 1 on your Exchange server. If another administrator manages Exchange, ask them to help with step 1.
1. Create a room mailbox for each room
- Create a room mailbox in the Exchange admin center (Recipients > Resources) or in the Exchange Management Shell. Follow Microsoft's steps for Exchange 2016, 2019 and Subscription Edition or for Exchange 2010.
- Give the display a way to sign in. Exchange disables the account of a new room mailbox by default. Choose one:
- Enable the room account and set its password. In the Exchange Management Shell, create the room with
-EnableRoomMailboxAccount $true -RoomMailboxPassword (Get-Credential).password. - Use a service account that has access to the room mailbox. You enter it as the delegate in step 2.
- Enable the room account and set its password. In the Exchange Management Shell, create the room with
- Make the room show meeting subjects. By default, Exchange replaces each subject with the organizer's name. In the Exchange Management Shell, run:
Set-CalendarProcessing -Identity <RESOURCEMAILBOX> -DeleteSubject $False -AddOrganizerToSubject $False
For Exchange 2007, follow Microsoft's fix for organizer names.
If you use hosted Exchange (GoDaddy, Rackspace and others), your provider's steps can be different.
2. Create the display in Meeting Room 365
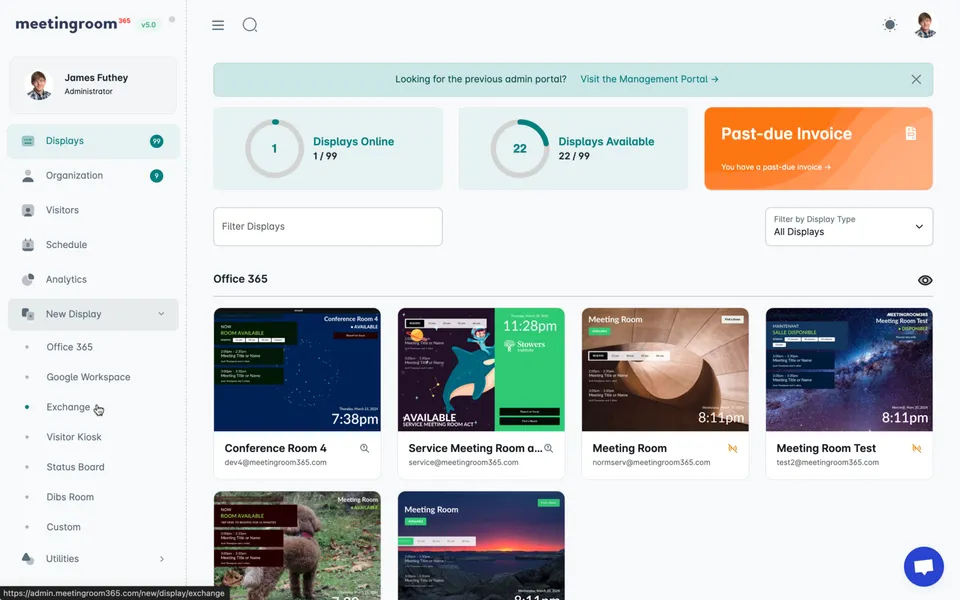
- Open the Meeting Room 365 admin portal.
- Select New Display > Meeting Room, then select Exchange.
- Enter the details of the room:
- EWS Host: the host name only, for example
mail.yourdomain.com. The admin portal removeshttps://and any path. - Exchange Version: the version of your server.
- Resource Mailbox Username: the username of the room mailbox. In most versions of Exchange, this is the email address of the room.
- Delegate (Service Account) Username: only if a service account signs in for the room.
- AD Domain: Exchange 2019 only. Enter your domain to use NTLM authentication. Leave it blank to use basic authentication.
- Password: the password of the account that signs in.
- EWS Host: the host name only, for example
- Enter a Display Name, then continue.
- Copy the Display Key.
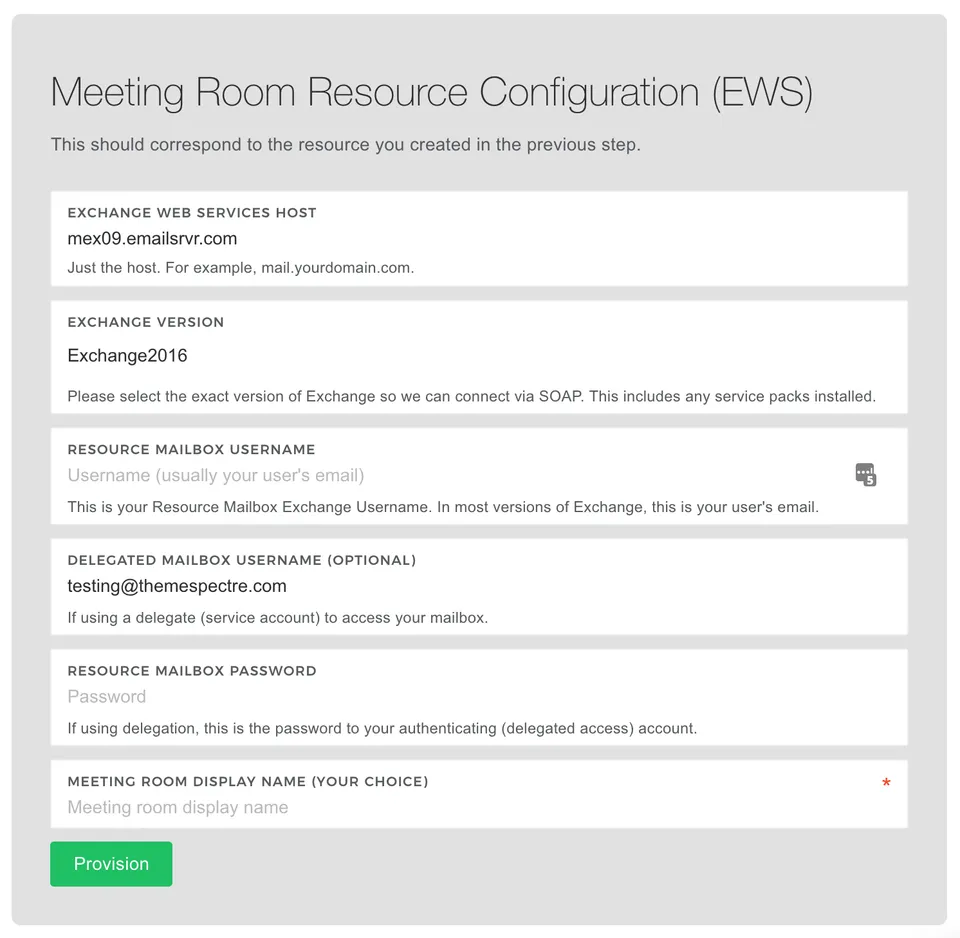
The admin portal tests the details with your Exchange server before it creates the display. If the test fails, the admin portal shows a connection error. Check the details and try again.
The username is the most common problem. On some Exchange versions, the sign-in name is different from the email address of the mailbox. It can be the alias (myuser), the email address, or the domain and alias (mydomain\myuser). To find the correct username, sign in to Outlook on the web with the room's account. Use a private browser window. The username that works there also works in Meeting Room 365. For more help, read I'm Experiencing an EWS Authentication Issue.
3. Set up the display
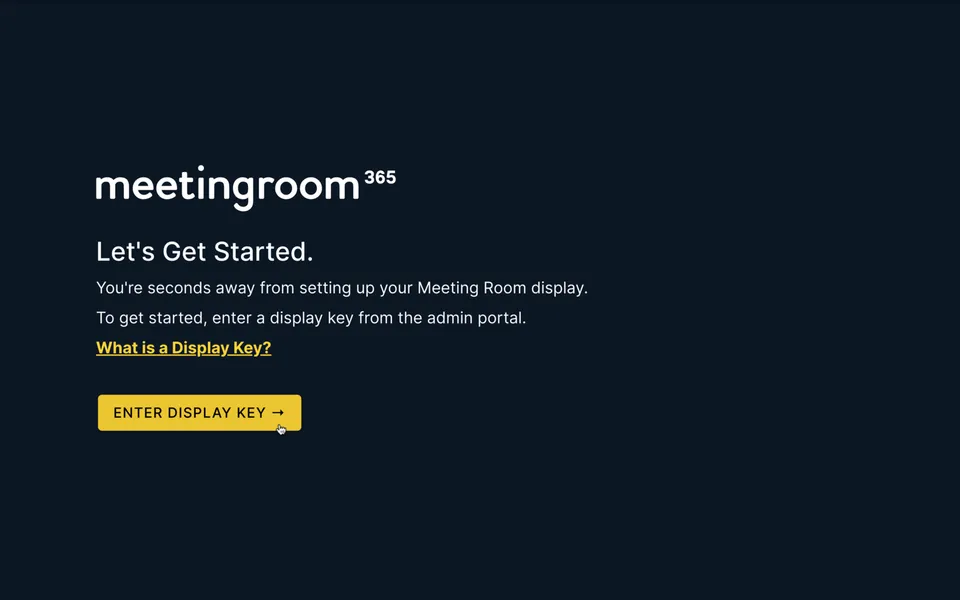
- Install Meeting Room 365 on the tablet from the Apple App Store, Google Play or the Amazon Appstore.
- Select Enter Display Key.
- Enter the Display Key.
For device settings, read the guide for your hardware:
Amazon Fire OS Tablet Setup Guide
If you're stuck, contact us from the admin portal. We can help with setup, configuration and provisioning.