How to Use Scheduling Assistant in Outlook

Picking up a meeting time that works for everyone is not always easy. Sometimes, company events will overlap with each other, which represents a problem for the time management of attendees.
Fortunately, there’s a feature that can help you get rid of these problems: the Outlook Scheduling Assistant.
This straight-to-the-point guide shows you how to use Scheduling Assistant in Outlook web version and desktop app.
What Is Scheduling Assistant in Outlook?
The Scheduling Assistant is a feature that works with Microsoft Office 365 and allows you to select the best time available and conference room availability by setting up a new meeting request.
This means that users can automatically reserve a room in Outlook that works for everyone by using Outlook Scheduling Assistant.
It is worth noting that the Outlook Scheduling Assistant works alongside the Room Finder. The Room Finder complements the Scheduling Assistant by analyzing available rooms based on the attendees' needs.
To summarize, using these two Microsoft Office 365 Features works for the following:
- Users can use the Scheduling Assistant to automatically find availability for people and rooms by providing suggested times and enough space for required attendees.
- The Room Finder automatically finds conference rooms based on the room specifics, such as type, capacity, and floor.
- Both features work together to schedule meetings on Outlook successfully.
How to Use Scheduling Assistant in Outlook Calendar
Using the Scheduling Assistant in Outlook Calendar Desktop Version is a great way to select the best time for optional and required attendees to attend the event without inconvenience.
Follow these four steps to use the Scheduling Assistant in Outlook Calendar (desktop version).
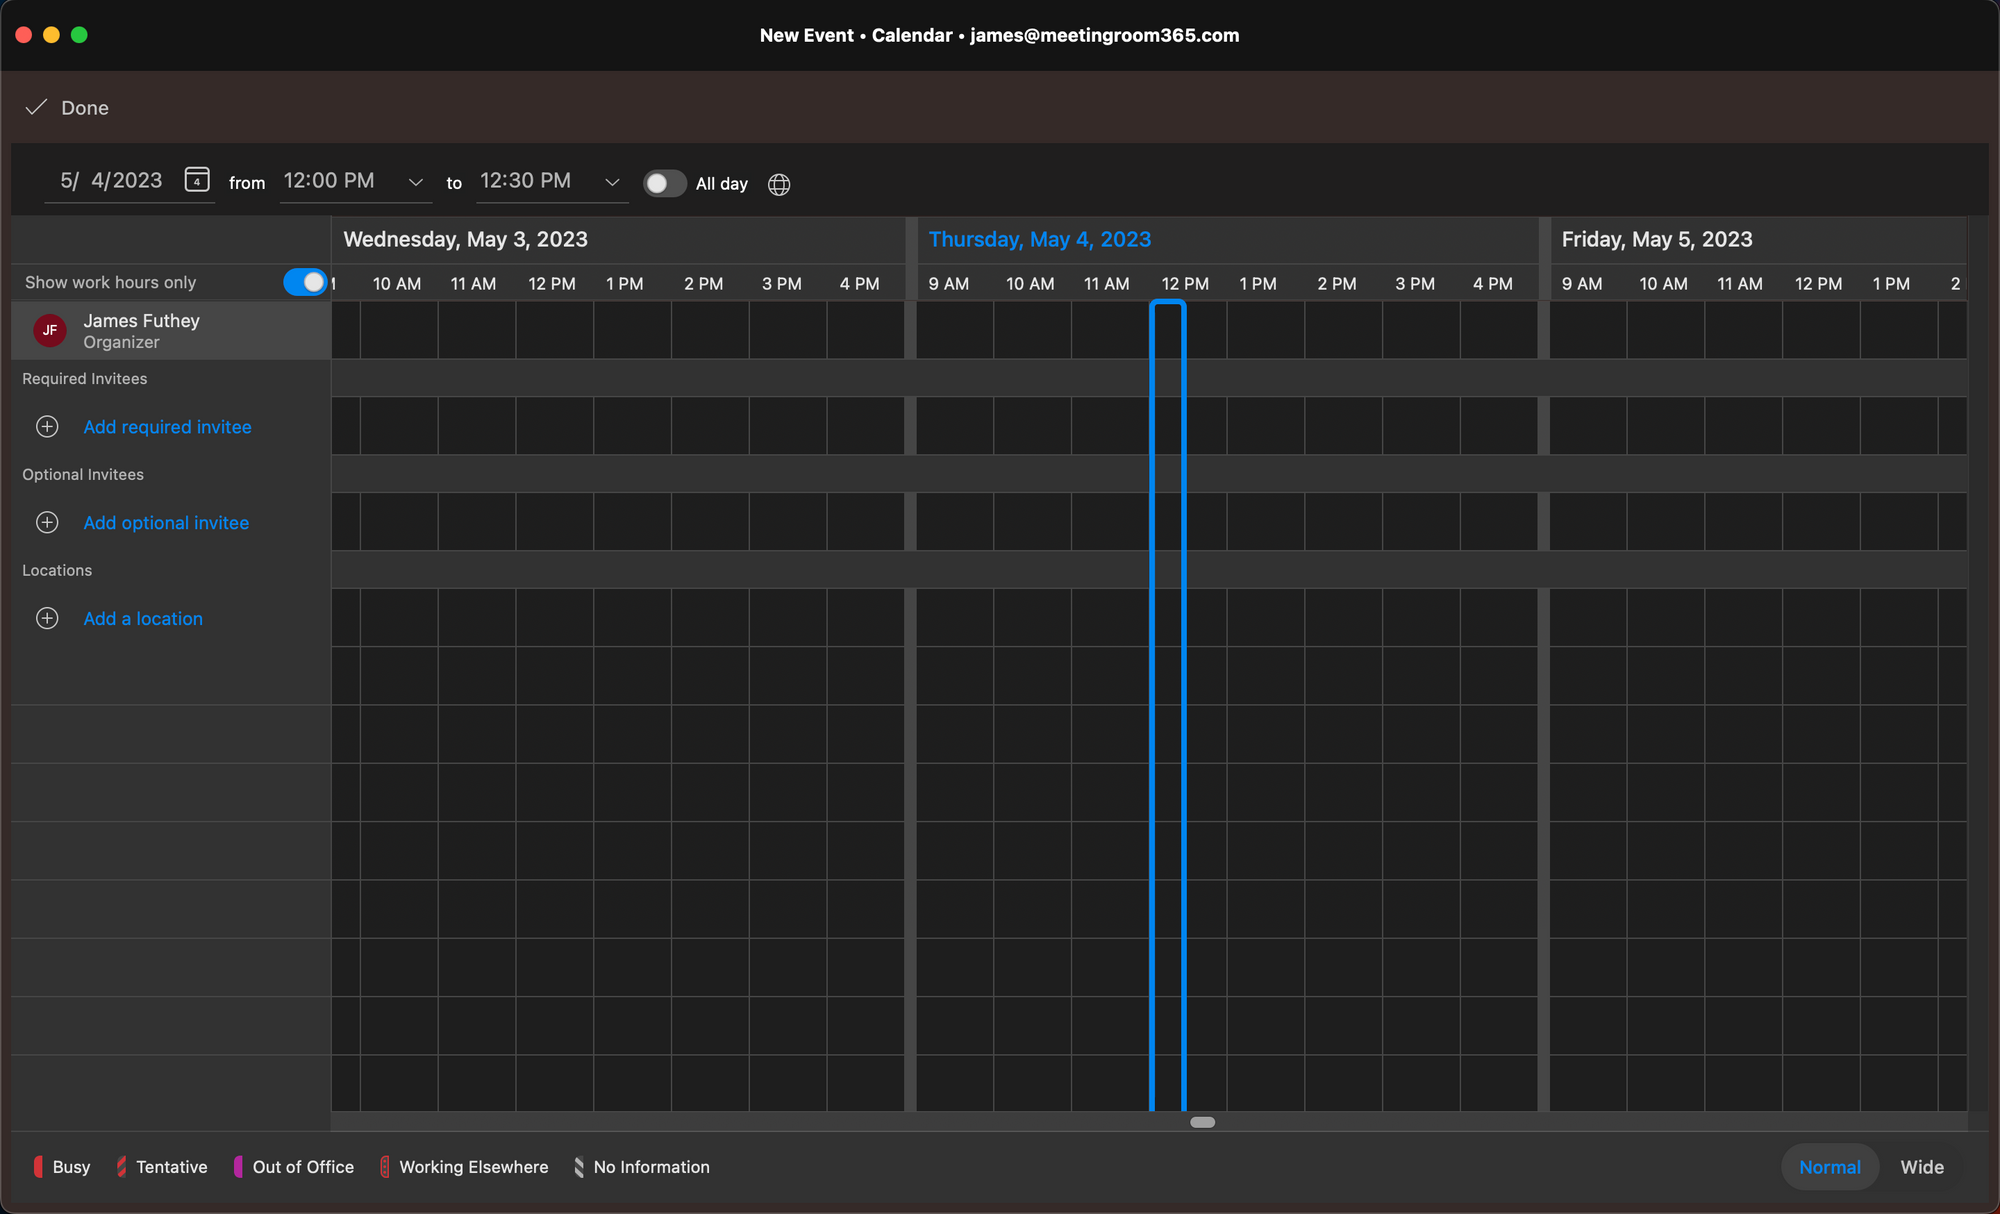
Step 1: Open Outlook Calendar and Select “New Meeting”
Open Outlook Calendar by clicking on the Calendar icon while logged into your account, and select “Meeting” at the top left corner of the screen.
This will open a new window where you’ll be able to edit the details of the meeting based on your needs.
Step 2: Fill In the Meeting Details
On the “New Meeting” screen, add the basic details of the meeting, such as meeting title, required attendee list, optional attendee list, and optimal time in the “Time” slot.
Also, select the location - you can choose the location of the meeting by checking meeting room availability with the Room Finder or picking a location from the “Suggestions” dropdown menu.

Step 3: Select “Scheduling Assistant”
After setting up the basics of the meeting, look for the “Scheduling Assistant” button in the top row and click on it.

Based on the room, time, and attendees added to the meeting, the Scheduling Assistant will show you availability based on attendees' working hours and resources availability (conference rooms and more).
Your goal here is to manually select the time suggestion when all or most attendees can assist to the meeting.
There are five different colors that appear based on the availability of the attendees:
- A blank row means that the attendees have availability.
- A light gray row with dots means that the attendee is working elsewhere.
- A light blue hashed block means that this is a tentative appointment time that could work.
- A dark blue row means that the attendee is busy (unavailable).
- And a pink row with crosses means that the attendee is out of the office and, therefore, unavailable.

If you are struggling to find a time that suits you, you can use the AutoPick option from the dropdown menus. This will help the Outlook Scheduling Assistant to pick up a time option that works for everyone.
Keep in mind that, according to Microsoft, AutoPick replaces the “Suggested Times” feature that could be found in old versions of Outlook.

Step 4: Check Out the Details of the Event and Send the Meeting Invitation
After picking the perfect time with the Scheduling Assistant, review the details of the event.
You can add attendees, change the title, modify the time, and select a new room if needed.
Then, click “Send,” and forward the meeting invitation to everyone.
Since you already checked everyone’s schedule with the Outlook Scheduling Assistant, the meeting should not interfere with other work-related events.
How to Use the Scheduling Assistant in Outlook Web Version
The Scheduling Assistant feature is also available in Outlook Web Version. To use it, follow these three quick steps.
Step 1: Open Outlook Calendar Web Version
Go to Outlook's website and open Outlook Calendar using your credentials. After opening Outlook, click on the “New Event” button at the top left corner of the screen.
Step 2: Set Up Event Details On the New Window and Click “Scheduling Assistant”
Set up the meeting details (title, attendees, location, suggested times, and more), as required.
Once you have set up the details of the event, click the “Scheduling Assistant” button at the top of the screen.

Step 3: Select the Best Meeting Time and Send the Invitation
The Scheduling Assistant will show up in red in case the times selected interfere with other scheduled events of the attendees.

Therefore, browse through different suggested times until you find an option that suits everyone. Then, the Scheduling Assistant will show up in green color.

Afterward, it is possible to add more attendees or change the room to check further availability.
Click the “Done” button, check the meeting details once again, and send the invitation.
That’s how you use the Outlook Scheduling Assistant on the web version of Microsoft Outlook.
Summary: Using the Scheduling Assistant in Outlook
As you can see, the Scheduling Assistant can save you a lot of time if you are struggling to find the right time for a meeting or event. Let’s recap the most important information in this guide:
- To use the Scheduling Assistant in Outlook, it’s recommended to add the attendees and ideal time before launching the Assistant.
- The Scheduling Assistant shows time suggestions based on the calendar of the meeting attendees.
- If you are struggling to manually select the best time, use the AutoPick feature so the Assistant finds the best time for you.
- Check out the meeting details prior to sending the invitation and make the necessary changes so the meeting does not interfere with others’ calendars.