How to use Connect-MgGraph in PowerShell

Automating and streamlining tasks using the functionalities offered by Microsoft Graph API is easier in PowerShell.
However, before using all the different types of commands available for Microsoft Graph through PowerShell, we first need to establish a secure connection to Microsoft Graph.
That's exactly what the Connect-MgGraph cmdlet is for, and today, we are going to teach you how to use it by following a few simplified steps.
What Exactly is Connect-MgGraph in PowerShell?
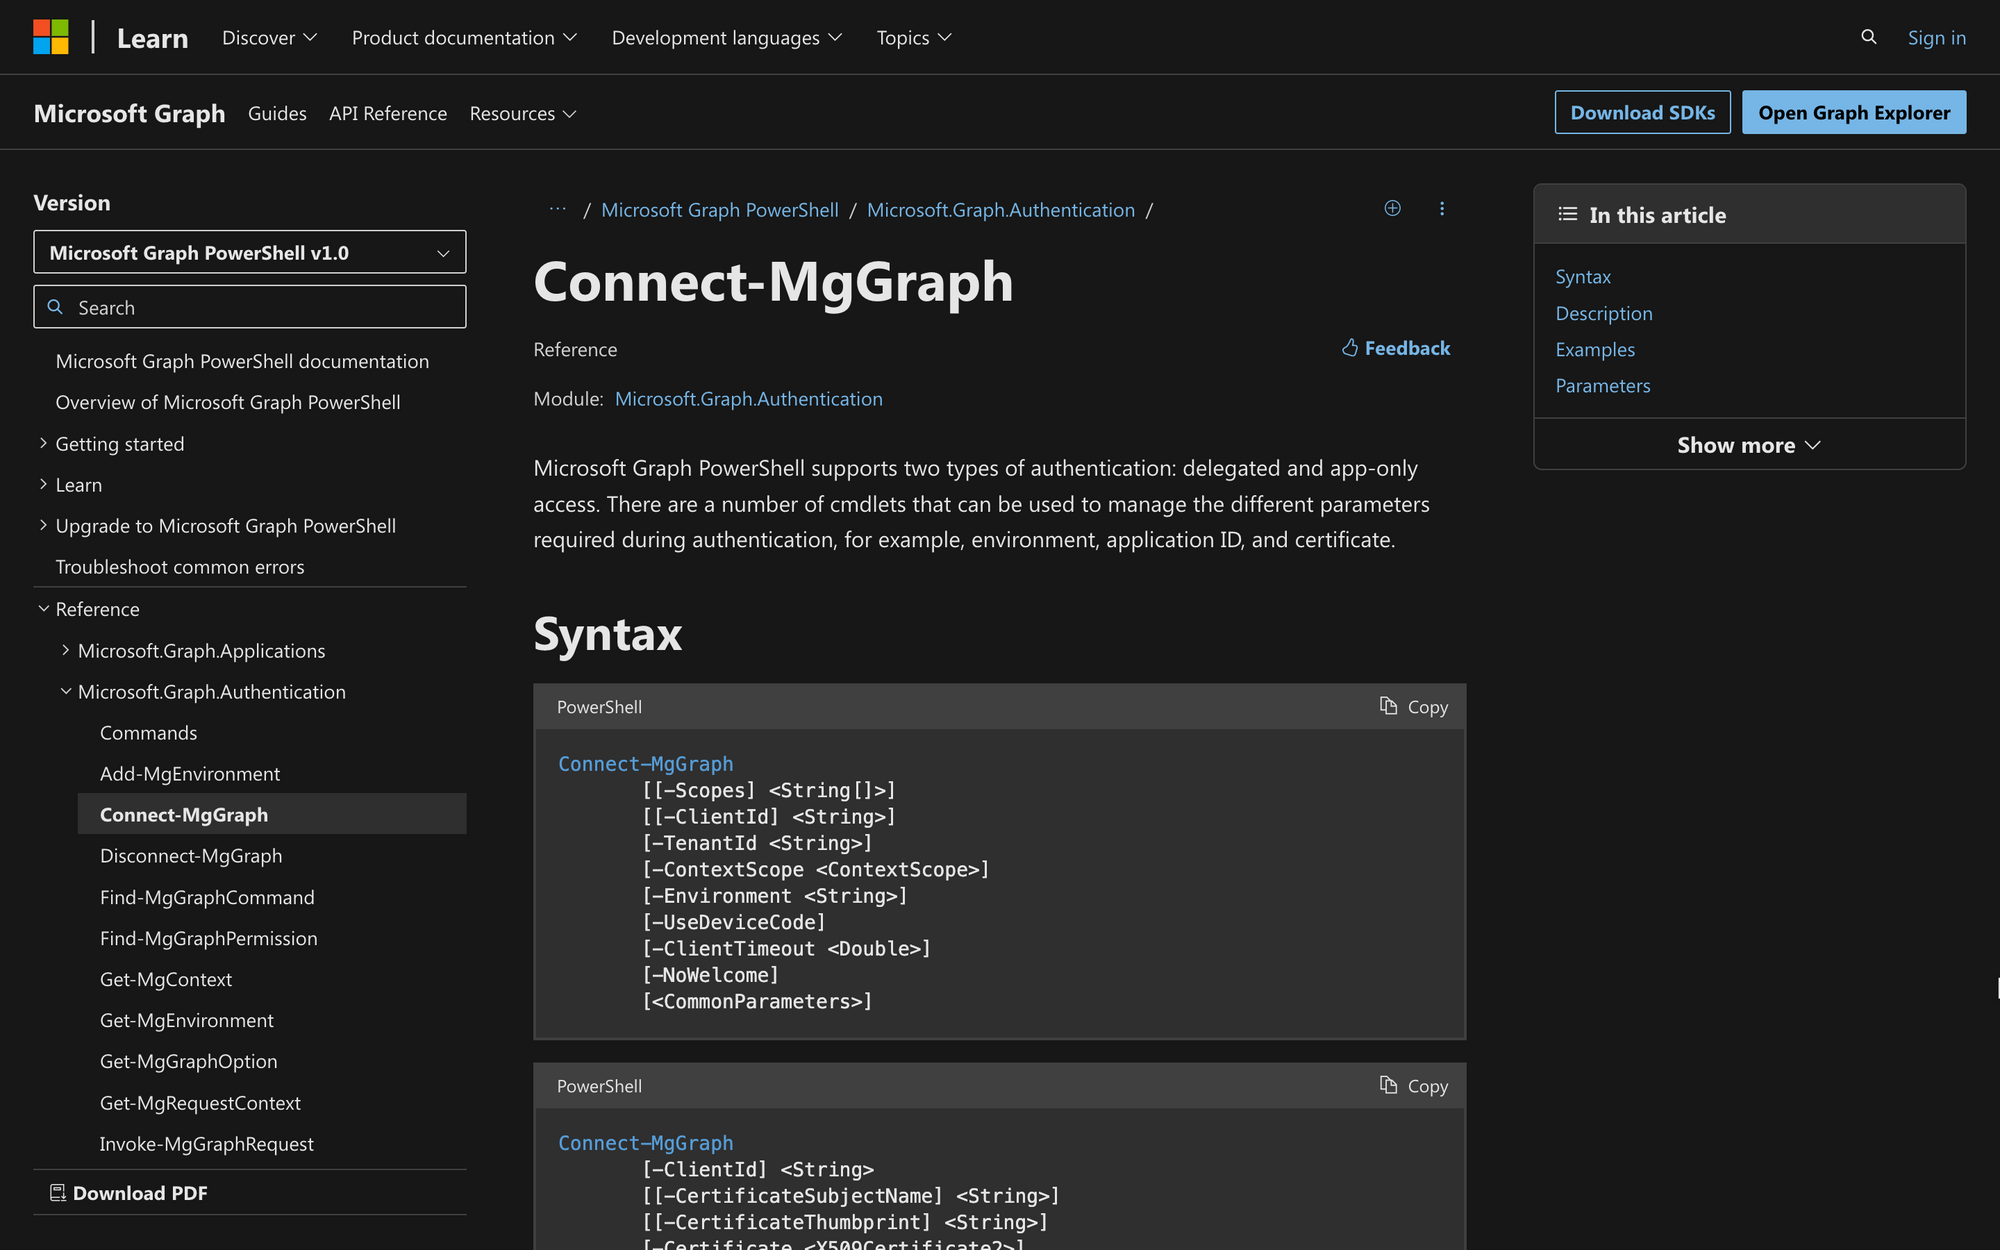
Connect-MgGraph is a cmdlet used to establish a connection to Microsoft Graph, allowing you to authenticate and authorize your script to access Microsoft 365 services and resources.
This cmdlet initiates the OAuth authentication process, prompting you to log in and consent to the necessary permissions required for your script to interact with Microsoft Graph.
Microsoft Graph PowerShell refers to a set of PowerShell cmdlets that allow users to interact with Microsoft Graph API using PowerShell scripts.
Microsoft Graph API is a unified endpoint that provides a single programmability surface for accessing a wide range of Microsoft 365 services.
It enables developers and administrators to access and manipulate data and resources across different Microsoft 365 services, such as Azure Active Directory (the Azure Active Directory Graph API was deprecated in June 2023), SharePoint, Outlook, Teams, and more.
However, before accessing all of these useful features and resources, we first need to establish a connection with the environment by invoking the Connect-MgGraph cmdlet.
What Can You Use the Connect-MgGraph Cmdlet For?
The Connect-MgGraph command allows you to connect to Graph API from PowerShell, serving as the bridge that leads to a wide variety of resources.
Once connected, you can use other cmdlets from the Microsoft Graph PowerShell module to perform different tasks, such as the following:
- Authentication and Authorization: Use Connect-MgGraph to initiate the OAuth authentication process, allowing your script to obtain an access token to authenticate with Microsoft Graph. You may need to provide credentials and consent to the required permissions;
- Accessing User Data: Once authenticated, you can use other cmdlets to retrieve information about users, such as their profile details or manager;
- Working with Mail and Calendar: Interact with Exchange Online data through Microsoft Graph, allowing you to manage emails, calendars, and tasks;
- Accessing Teams Data: Retrieve information about Microsoft Teams, channels, and messages.
- Device Management: Manage devices and perform operations related to device management in Microsoft 365.
Prerequisites to Use Connect-MgGraph in PowerShell
Before running Connect-MgGraph, a series of prerequisites need to be met:
- Install the Microsoft Graph PowerShell Module: First, it's necessary to install the Microsoft Graph PowerShell Module. Ensure the installation of the Microsoft Graph PowerShell module on your machine to enable seamless interaction with Microsoft Graph API through PowerShell scripts - we'll show you how to do it below;
- Use the Correct PowerShell Version: Update PowerShell to the latest version to guarantee compatibility with the Microsoft Graph PowerShell module, ensuring access to the latest features without encountering compatibility issues;
- Permissions and Consent: Configure appropriate permissions and obtain necessary consent for the associated Azure AD application to access Microsoft Graph resources. You may need help from your organization's support to complete this prerequisite;
- Correct Microsoft Account Credentials: Provide accurate Azure AD Application (client) ID and Tenant ID credentials during the Connect-MgGraph process to authenticate your script. After using the right credentials, a message that says "Welcome To Microsoft Graph!" will pop up, informing you about a successful connection.
How to Use Connect-MgGraph in PowerShell
There are different ways to connect to Microsoft Graph in PowerShell, but before doing so, we need to follow three fundamental steps to complete the process.
Step 1: Connect to Exchange Online PowerShell
First, we need to access Exchange Online PowerShell. Run PowerShell on your computer as an Administrator, and use the following cmdlet:
Replace "[email protected]" with your own information, log into your account using your Microsoft credentials, and then proceed with the following steps.
Step 2: Install the Microsoft Graph PowerShell Module
After accessing PowerShell Online, we need to install the Microsoft Graph PowerShell Module in order to use all its features. To do so, run the following cmdlet in the command screen:
Step 3: Update Microsoft Graph PowerShell Module SDK
Although updating the Microsoft Graph PowerShell Module is not always necessary, we recommend you do so to prevent any possible error during the invoking process.
To ensure that you are using the latest module version, run the following command, and wait for the update installation:
4 Ways to Use Connect-MgGraph
Once you have logged into your Microsoft Account and installed the correct module version, it's time to run Connect-MgGraph.
There are different ways to use Connect-MgGraph, so let's take a look at the four most common ones.
1. Using Connect-MgGraph with Delegated Access
The first way to use Connect-MgGraph is to do so with delegated access.
Delegated access in the context of Microsoft Graph refers to the scenario where an application, acting on behalf of a user, is granted permission to access resources or perform actions.
This leads to three different ways to connect to Microsoft Graph with delegated access:
1. With Interactive Authentication: Users interactively provide consent during their session by authenticating and granting specific scopes (permissions) to the application:
2. With Access Token: the application uses a pre-acquired access token (obtained through other means) to connect to Microsoft Graph:
3. Using Device Code Flow: Users receive a code on a device, visit a provided URL, enter the code, and authenticate, allowing the application to obtain an access token.
2. Connecting to MgGraph Using Client Credential with a Certificate
Another way to use Connect-MgGraph is by using client credentials with a certificate. This approach involves utilizing anapplication's credentials (app-only access) authenticated through a certificate instead of a user's credentials.
This includes a certificate thumbprint, name, or simple certificate. For example, if you are using a certificate name, the cmdlet will look like this:
3. Connecting to MgGraph Using Managed Identity
Managed identities provide a secure and streamlined way to authenticate applications without the need to manage explicit credentials or secrets, addressing challenges related to credential management in automation scripts.
Also, managed identities simplify the authentication process by eliminating the manual handling of credentials, certificates, or keys.
This translates into two ways to connect to MgGraph using this method:
1. System Assigned Managed Identity: Automatically managed identity associated with a service instance, eliminating the need to manually provision or rotate secrets. The identity's lifecycle is tied to that of the service instance:
2. User Assigned Managed Identity: Uses a user-created managed identity as a standalone Azure resource. This allows for more control and flexibility in managing identities separate from the service instance's lifecycle:
4. Use Connect-MgGraph with Custom Applications
Users can also create custom applications tailored to their specific needs that they can use to connect to Microsoft Graph PowerShell like this:
1. Create an Azure AD App Registration:
- Go to the Azure portal and navigate to "App registrations" > "New Registration."
Enter a name for your application, like "Microsoft Graph PowerShell - High Privilege admin use only." - For supported account types, choose "Accounts in this organization directory."
- For Redirect URI, select "Public client/native," set the URI value to "http://localhost," and click "Register."
2. Configure Application Properties:
- In "Enterprise applications," select the application you just created.
- Under "Manage," choose "Properties" and set "Assignment required?" to "Yes." Click "Save."
- Under "Manage," select "Users and groups."
- Add the users and groups permitted to use this application, then click "Assign."
3. Connect with PowerShell using the New App:
Use the following PowerShell command to connect, replacing <YOUR_NEW_APP_ID> and <YOUR_TENANT_ID> with the appropriate values:
Now, you can use this newly registered application to connect with Microsoft Graph in PowerShell instead of the default one.
Signing Out from Microsoft Graph in PowerShell
According to Microsoft, once you access Microsoft Graph, you'll remain signed in until you invoke Disconnect-MgGraph. So, if you wish to end your session, open the command window, and run the following cmdlet:
This will disconnect you from MgGraph PowerShell and refresh the access token for future log-ins.
Summary: How to Use Connect-MgGraph in PowerShell
Connect-MgGraph is a command that allows us to manage Microsoft Graph services and resources with more control. Before running it, consider these main three key takeaways:
- Before running Connect-MgGraph, make sure to install and update the latest version of the Microsoft Graph Module;
- Once you use Connect-MgGraph with your preferred authentication method, you'll be able to make changes in the environment at your command;
- After making the desired changes, don't forget to use Disconnect-MgGraph to end your session.