The Complete Guide To Planning and Setting Up your Conference Room Display Solution

Implementing a new solution from scratch can be a daunting task. So, one of the things we thought we could do after working with thousands of companies to implement their meeting room display solution, is to write an exhaustive outline of things you might want to consider when planning your setup.
Don't let this be overwhelming though! Most companies we work with set up their displays in a matter of minutes, once their Office 365 or Google Workspace environment is fully configured. We offer a variety of starter templates and simple display customization options, making it easy to get started, fast to implement, and then giving you a variety of options you can use to improve your displays after things are up and running.
Why do you need a conference room display, anyway?
Setting up meeting room displays is a crucial step in optimizing your work environment. Let's dive into why it matters:
- Schedule Management: Conference room displays give you a bird's eye view of a meeting room's schedule, making it easy peasy to manage and coordinate its use.
- Improved Communication: With a clear and up-to-date display of room availability, you'll never have to worry about double bookings or miscommunication ever again. Everyone in the office is on the same page, all the time.
- Increased Productivity: Quick and easy access to room availability = time saved. This means more time for you to focus on your work, and less time spent searching for an available room.
- Better Utilization of Space: By keeping track of when rooms are occupied and when they're free, you'll make sure your conference rooms are being used to the max, and that resources are not being wasted.
Conference room displays improve communication, increase productivity, and maximize the use of your valuable office space.
What does a conference room display do, exactly?
A conference room display typically displays information about the availability and schedule of a meeting room. The features and functionality of a conference room display can vary depending on the specific product, but here is a list of common features:
- Room Scheduling: Displays the current and future schedule for the meeting room, including information about the event name, start and end time, and attendees.
- Room Availability: Indicates whether the room is currently available, in use, or reserved for a future meeting.
- Real-time Updates: Automatically updates in real-time when the schedule for the room changes, ensuring that everyone has access to the latest information.
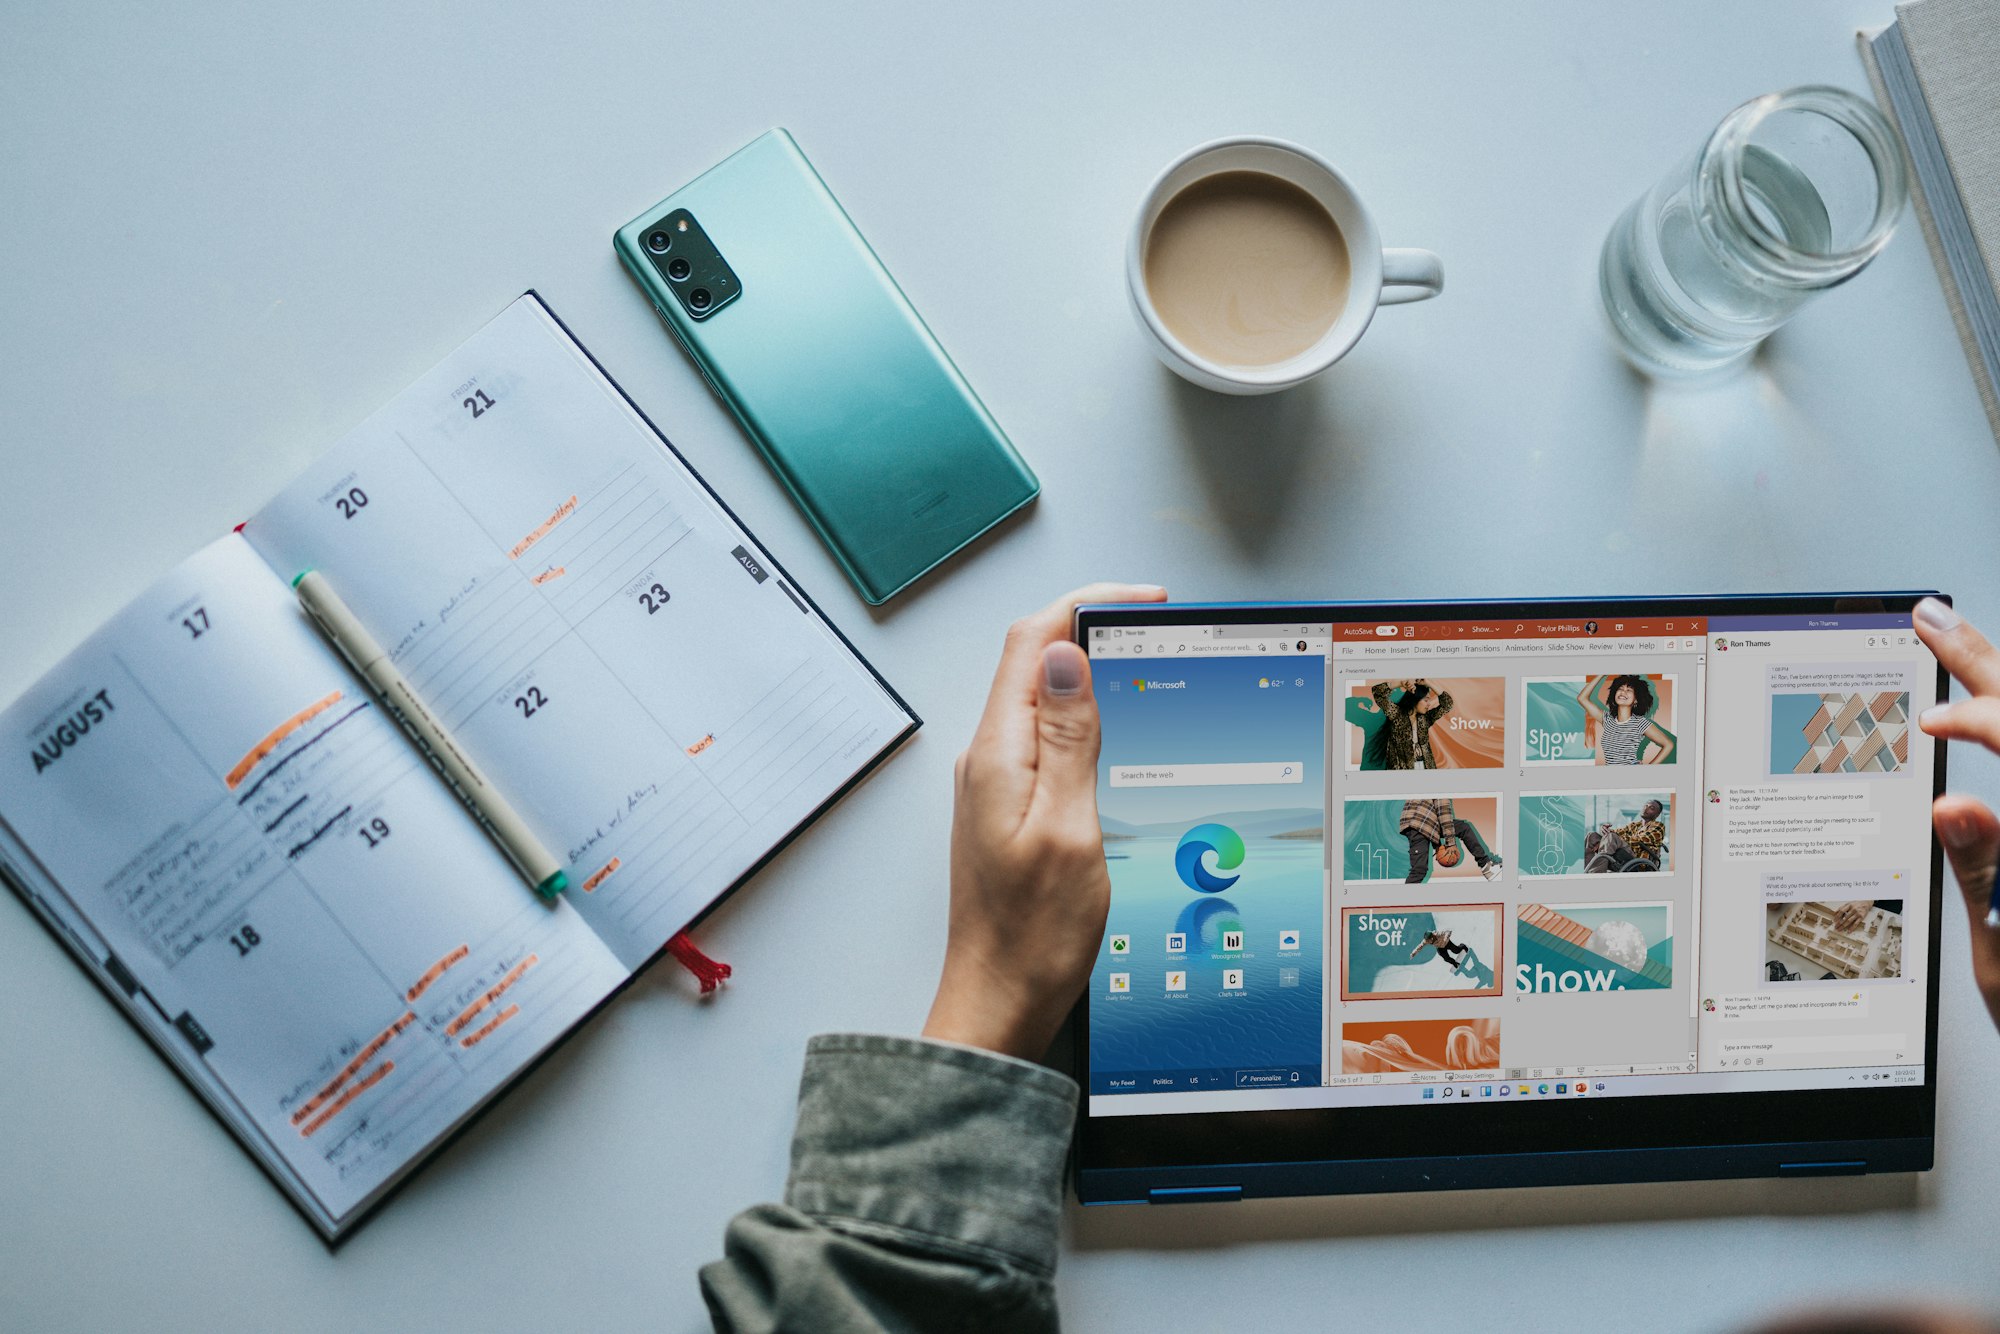
- Calendar Integration: Integrates with calendar services such as Google Calendar (Google Workspace) or Microsoft Outlook (Office 365) to keep the display up-to-date and synchronized with the schedule for the room.
- On-device Booking: Includes an interface that allows users to quickly and easily walk up to a room and make a reservation, if it's available.
- Meeting Management: Need to end a meeting early, or keep the room a few minutes longer? Most meeting room display software includes features to extend a reservation, or end it early.
- Remote Management: Configurations can be managed remotely, allowing administrators to update and manage the display from anywhere.

Types of conference room booking displays
Here's a rundown of the different types of conference room displays:
- iPads: iPads are a popular choice for conference room displays due to their wide availability, user-friendly interface, and versatility. Pros include their ease of use, accessibility to a variety of apps, and the ability to use them for other purposes besides conference room displays. Cons include the potential for theft or damage, the need to replace the device periodically, and the need for a power source.
- Android Tablets: Android tablets offer many of the same benefits as iPads, but with the added advantage of being available at a lower cost. Pros include their affordability, wide range of options, and the ability to customize the display with the use of Android apps. Cons include the potential for compatibility issues with certain apps or systems, and the need for a power source.
- Special-purpose Hardware: Special-purpose hardware is specifically designed for conference room displays and typically includes features such as touchscreens, built-in scheduling software, and the ability to display information even when not connected to the internet. Pros include their durability, reliability, and ease of use. Cons include the higher cost compared to other options, and the need for specialized installation and maintenance.
- E-Ink Displays: These displays use a unique type of technology that allows them to display information clearly even in low-light conditions. Pros include their low power consumption, clear display even in bright environments, and durability. Plus, there's no need to connect a power supply– many can run for up to a month on a single charge! Typically, the software is much simpler, but may lack some features, or display a limited amount of information compared to other types of displays. Cons also include limited color options (most are black and white), as well as the higher cost compared to other options.
Each type of conference room display has its own pros and cons, and the best option will depend on the specific needs and budget of your organization. Factors to consider include the cost, the level of interactivity and customization desired, and the durability and reliability of the device.
Picking a Tablet Display
- Size: The absolute minimum size for a Meeting Room display is 6", but 8" and 10" tablets are much more common. The primary argument for getting a larger tablet display, is that you can display more information about upcoming meetings at a glance, vs. smaller displays which become confusing to look at if you show anything beyond the current meeting, and availability status.
- Operating System: When deciding, typically, between iOS and Android tablets, the primary difference is cost. But, you should also plan integration into your current Device Management solution, if possible, to ensure your displays can be fully locked-down in Kiosk mode (Single-App Mode), or that the vendor solution you want to use even supports the device ecosystem. Typically, iOS devices are only slightly more expensive than quality Android devices, and are much easier to install, support, and maintain. But, if you don't manage any other iOS devices, you might need to integrate an entirely-new MDM system.
- New vs. Repurposed Hardware: Good news if your organization already has some existing hardware, headed for recycling! Most meeting room display software hasn't changed much in years, and can run on surprisingly outdated hardware, since it's mostly an informational display, with limited interactivity, and no need for storage-consuming or otherwise demanding apps.
How to set up and configure a conference room booking display
Integrating with a calendar system
Integrating a meeting room display app with a calendar system typically involves the following steps:
- Choose a Calendar Service: Choose a calendar service such as Google Calendar, Microsoft Outlook, or Apple Calendar that you'd like to use for your conference room schedule. Make sure that all users who will be scheduling meetings in the conference rooms have access to the calendar service you choose.
- Connect the App to Your Calendar Service: Most meeting room display apps will require you to log in to your calendar service account from the display management portal, and grant the app permission to access your calendar data. The specific steps to connect the app will vary depending on the app you choose, but it usually involves inputting your calendar service credentials and granting permission for the app to access your calendar data.
- Configure the App: Once the app is connected to your calendar service, you'll need to configure each display to show the information you want. This might include selecting which calendar to display, available booking options, and customizing the look and feel of the display.
- Test the Integration: Before rolling out the meeting room display app to your entire organization, it's a good idea to test the integration to make sure everything is working as expected. This might involve scheduling a few test meetings in your calendar and checking to make sure they are displayed correctly on the meeting room display.
- Deploy the App: Once you're satisfied that everything is working correctly, you can deploy the app to your conference rooms. This might involve installing the app on a tablet or other device and setting up the display in each conference room. You will need to consider mounting options, and power sources during deployment.

Customizing the look and feel of the display
Customizing the look and feel of your display can help improve its effectiveness in communicating important information to your users. Here are five tips to consider when customizing your display:
- Background Image: Choose an image that represents your organization, is visually appealing, and doesn't distract. A good background image will set the tone for the display, but be sure to avoid images that are too complex: they'll make the display harder to use.
- Colors: Use colors that align with your organization's branding and make information easy to read. Color can help draw attention to important information and create visual interest. Text should contrast with the elements underneath it, so it is readable, and meets accessibility standards.
- Pick the Right Theme: Some rooms have densely-packed schedules, and others get minimal use. Some are reserved in advance, and some are used on-the-fly. If your provider supports multiple themes, pick one that best suits the usage pattern for your display.
- Layout: The layout of your display has a big impact on its readability and usability. Consider the placement of text and images and make sure the layout is intuitive and easy for users to navigate. Although most of this is dictated by the theme you choose, sometimes, minor customizations can go a long way toward improving usability.
- Test and Refine: Finally, test your customizations to ensure the display looks and works as you intended. Make adjustments based on user feedback and continuously improve the display, to keep things running smoothly across your office.
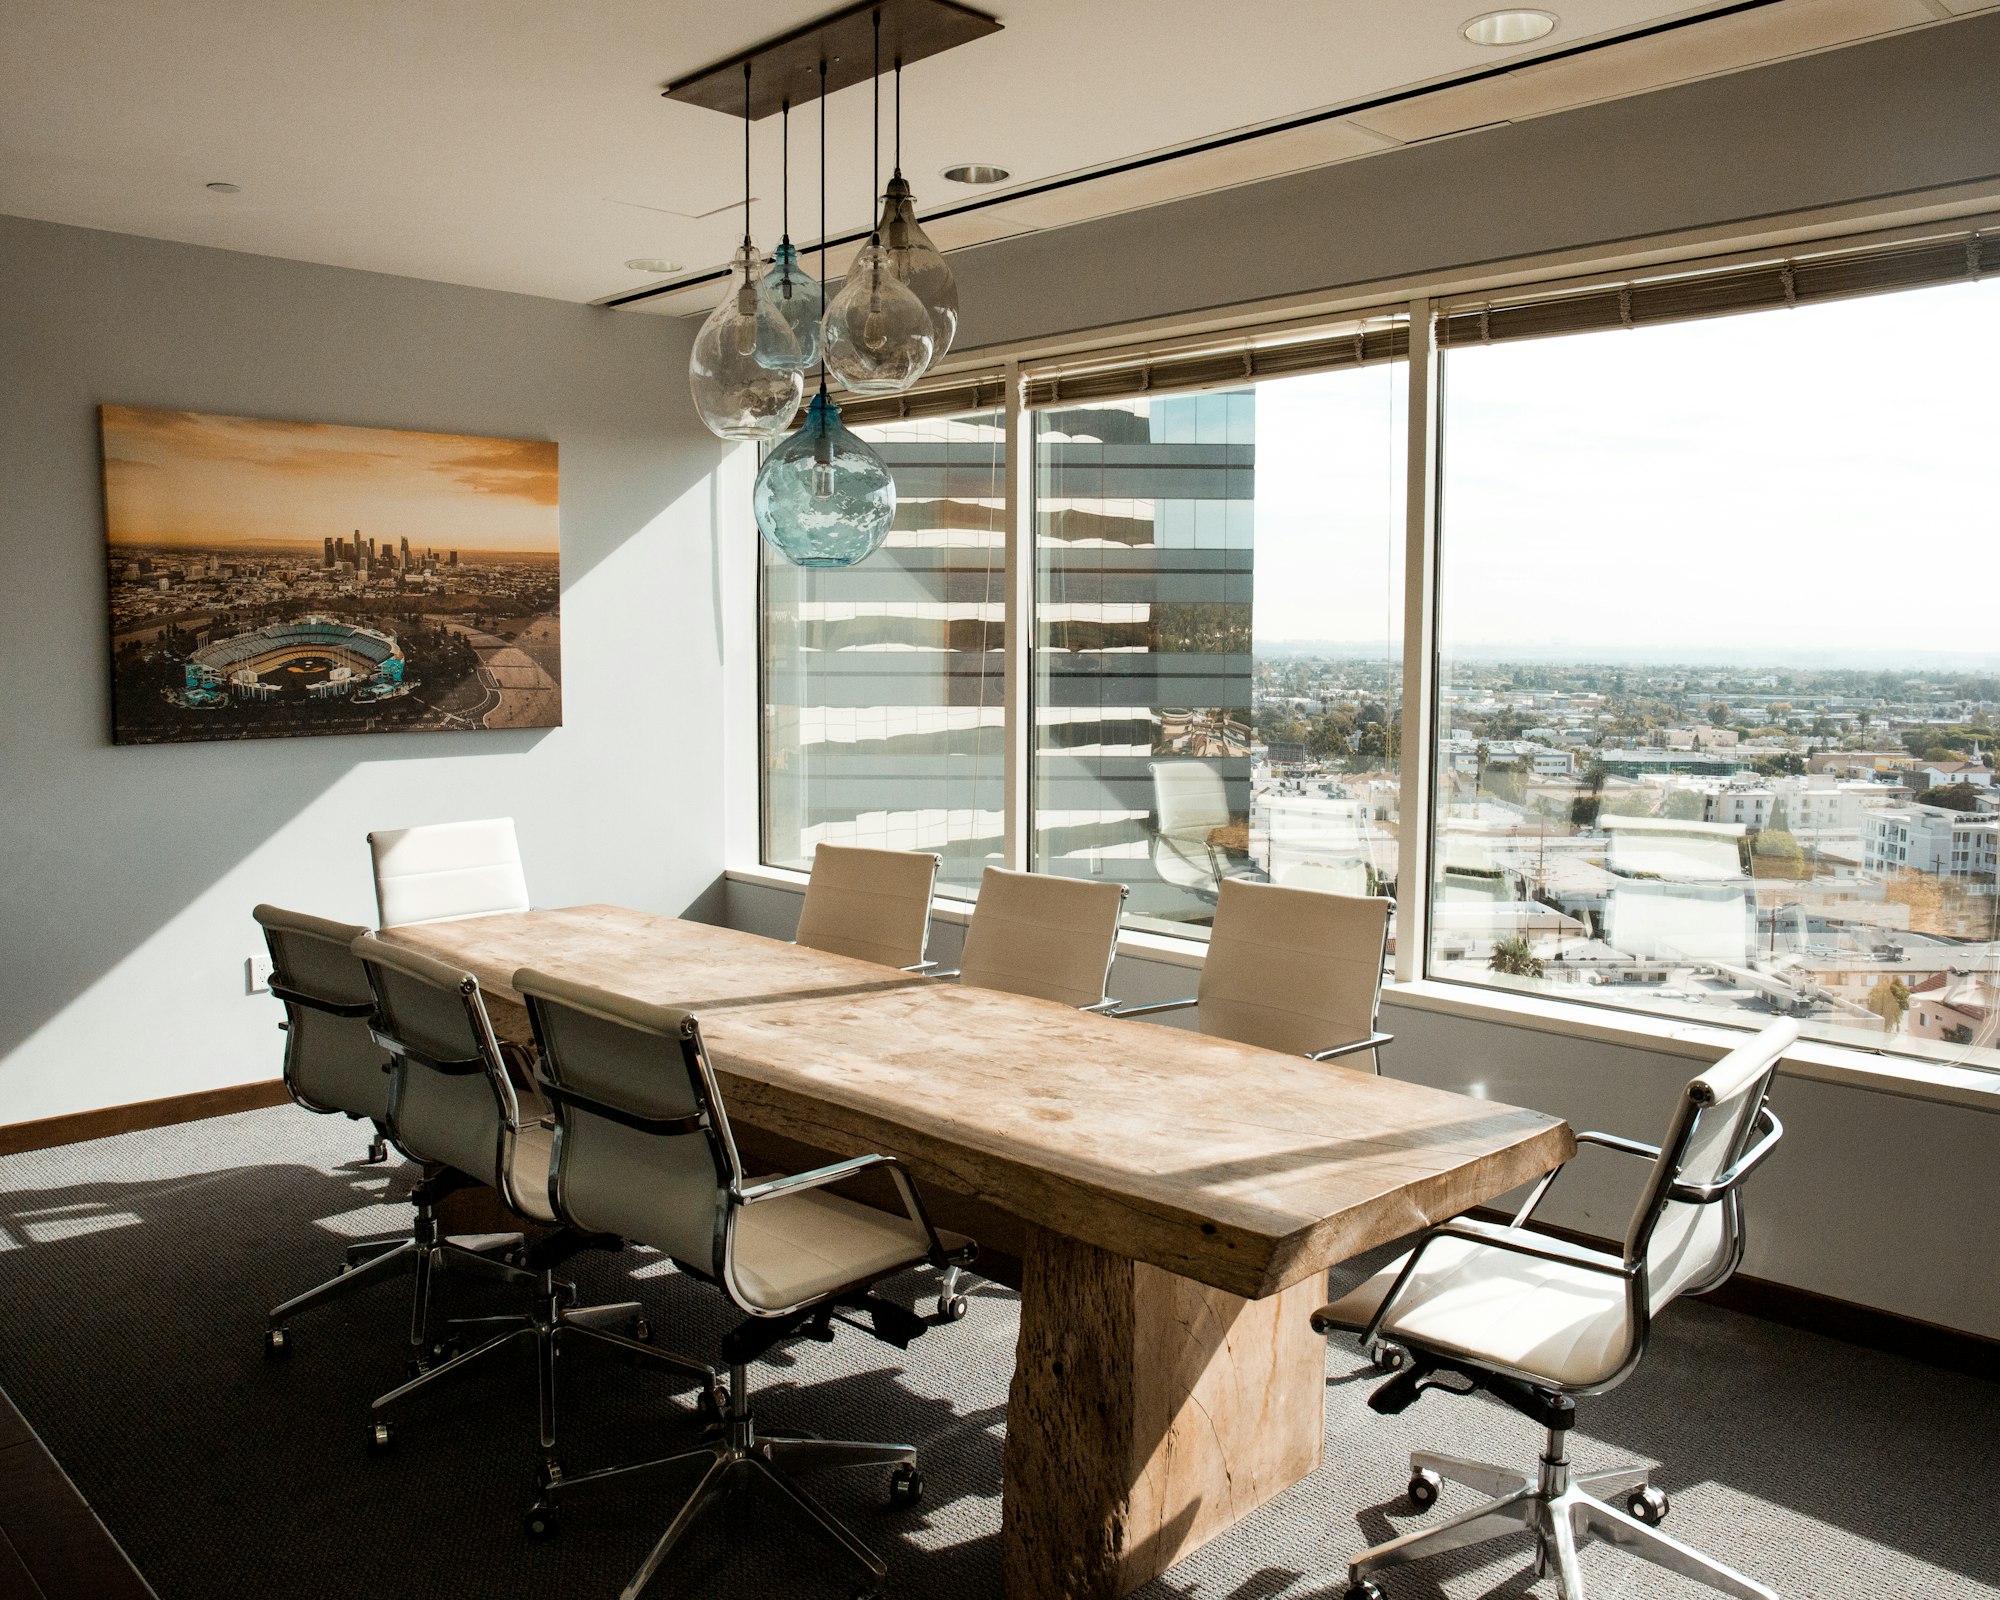
Considerations for Mounting and Positioning the display
When mounting and positioning a meeting room display, there are several things to keep in mind:
- Visibility: Make sure that the display is positioned in a way that allows everyone outside the room to see it clearly, and comfortably. This may require adjusting the height, angle, and orientation of the display. Make sure that the display is securely mounted and positioned in a way that won't pose a safety hazard to users or damage the equipment.
- Mounting Equipment: Displays can be attached securely to the wall via specialized (but often inexpensive) mounting hardware, designed specifically for your tablet device. Alternatively, they can be directly mounted on various surfaces, including glass. This typically presents additional issues though, especially with cable management.
- Floor Height: Meeting room displays are typically positioned just below eye level, so they can be comfortably viewed and used without bending over or crouching.
- Building layout: Consider the layout of the surrounding area and any potential obstructions, such as doors, windows, and furniture, that may affect the visibility of the display.
- Lighting: Make sure that the lighting in the room doesn't cause glare or reflections on the display that can make it difficult to see.
- Accessibility: Consider how people will interact with the display, and the location of power outlets, and other optional connectivity options, like ethernet or PoE.
- Cable Management: You should consider your cable management options for both safety and the professionalism of your display solution.
Tips for getting the most out of a conference room booking display
Analyzing usage metrics and trends
Here are some metrics and trends that can be useful when analyzing meeting room utilization:
- Occupancy rate: This measures the percentage of time that a meeting room is in use.
- Average meeting duration: This is the average length of time that a meeting takes place in a room.
- Number of meetings per day: This measures the total number of meetings that take place in a room per day.
- Scheduling patterns: This analyzes the scheduling patterns of each room, such as time of day or day of week, to see when rooms are most in demand.
- No-show rate: This measures the percentage of scheduled meetings that are cancelled, or never take place, indicating waste for a particular meeting room. This is important when users complain they can't find an appropriate meeting room space during periods of high utilization.
- Utilization by Team or Department: This measures the usage of meeting rooms by different teams or departments within an organization.
- Utilization by room size: This is the usage of meeting rooms based on their size and capacity, allowing organizations to identify which sizes are most in demand.
Maintaining and Troubleshooting your Displays
Some important things to keep in mind, to make sure your displays are running smoothly, and don't become a source of IT tickets within your organization:
- Regular software updates: Keeping the software up-to-date can help ensure that it runs smoothly and prevents any potential bugs or issues.
- Keep the device clean: Dirt and grime can build up on the device over time, so it's important to clean it regularly.
- Reliable power supplies and mounting hardware: Investing in a reliable power source and professional mounting hardware is usually all it takes to keep a meeting room display running for years without any major issues.
- Monitor for app crashes: If the display app crashes frequently, try restarting the device or uninstalling and reinstalling the app.
- Use a remote support tool: Consider using a remote support tool or MDM solution to remotely access the device in the case of a problem. This can help save time and reduce downtime.
- Have a backup device: Have a backup plan in place in case the display device fails, such as a backup display device configured and ready-to-go.
Thanks for giving our guide a look, we hope it provides some useful information for planning your meeting room display project. Let us know if you have any questions!