How To Set Out of Office in Outlook Calendar

Microsoft Outlook is one of the best platforms to set up and manage calendar events and share them with other users.
Members of an organization can add their updated calendar information for other Outlook users to check their upcoming events.
But what if you want to schedule an out-of-office calendar event? This guide shows you step-by-step how to set “Out of Office” in Outlook Calendar Desktop app and Web version.
What is Outlook “Out of Office”?
An out-of-office calendar entry is an appointment setting in Outlook Calendar that lets users show their vacation and free days.
Setting an out-on-office event is a great way to stay organized and prevent unwanted appointments during the vacation period.
Moreover, Outlook Calendar allows users to automatically decline meeting requests, send office messages and share the time period of the out-of-office event.
However, it’s necessary to set this event manually, as features such as the scheduling assistant in Outlook only work to schedule meetings and conferences, not days off.
How to Set Out of Office in Outlook Calendar App
The steps to set “Out of Office” in Outlook vary depending on if you use the desktop version of the platform for Windows OS and other operating systems or the web app .
To add time away from the office on the Outlook Desktop App, follow these quick seven steps.
Step 1: Open the Outlook App and Select the Calendar Icon
Open the Outlook Desktop Client, sign into your account, and select the Calendar button to access the Calendar feature.
Step 2: Select the Shared Calendar Where You’ll Set Up Outlook Out of Office
On the left pane, look for the calendar where you want to set the Out of Office event. This should be a calendar that other users can easily access (for example, a shared work calendar).
Step 3: Click “New Appointment” to Create a Calendar Event
After selecting the calendar, look for the “New Appointment” box at the top left corner of the screen, and click on it.
You can also simply click the day of the Out of Office event in case we are talking about a one-day period.
Step 4: Add the Details of the Event (Vacation or Days Off)
A new window will open. Here, we are going to add the details of the Out of Office event. Among the most important things to add, we have the following:
- Date range: Add the start time and end time of the event;
- Location: If necessary or required, fill in the Location box with your location during the Out of Office period;
- Subject: Add a descriptive title to the event so others can quickly recognize it;
- Show As: Click “Show As” to open a drop-down list where you’ll choose the “Out of Office” option;
- Description: Write a short description or custom message for the event.
Also, select the “All Day Event” option so the event can occupy all working hours during the selected dates.
Step 5: Click “File” to Set Up Outlook Automatic Replies
People are used to contacting their coworkers even during their days off. If you want to avoid this, you can tell Outlook to send automatic replies whenever someone sends you a message.
To set up Automatic Replies “Out of Office,” click on the File Tab, and select “Automatic Replies” (you can learn more about Automatic Replies on Outlook here).
Step 6: Set the Details to Send Replies Automatically
After opening the Send Replies Automatically window, set up the following factors:
- Set “Send Automatic Replies” On;
- Select “Only Send During this Time Range” and set up the dates;
- Include the automatic reply custom message and click “OK.”

Step 7: Check the Changes and Click the “Save” Button
After setting the automatic replies and out-of-office event parameters, click “Save,” and then press the close button.
Make sure that all the info has been successfully submitted before saving the changes.
How to Set Out of Office in Outlook Calendar Web Version
Setting an Out of Office event in the Outlook web version is slightly different, but the theory is the same.
To do this, follow these steps.
Step 1: Open Outlook On Your Web Browser
Open Outlook Calendar on your web browser, sign into your account, and proceed with the following step.
Step 2: Select “New Event”
Look for the “New Event” button at the top left corner of the screen, and click on it.

Step 3: Set the Event Status as “Away”
Here, select the status option, and on the drop-down menu, select “Away.”
This indicates to other users who have access to the calendar that the new event consists of you going on a vacation/days off.

Step 4: Include the Details of the Out of Office Event
Include all the relevant details of the events, such as date range, title, description, and more.
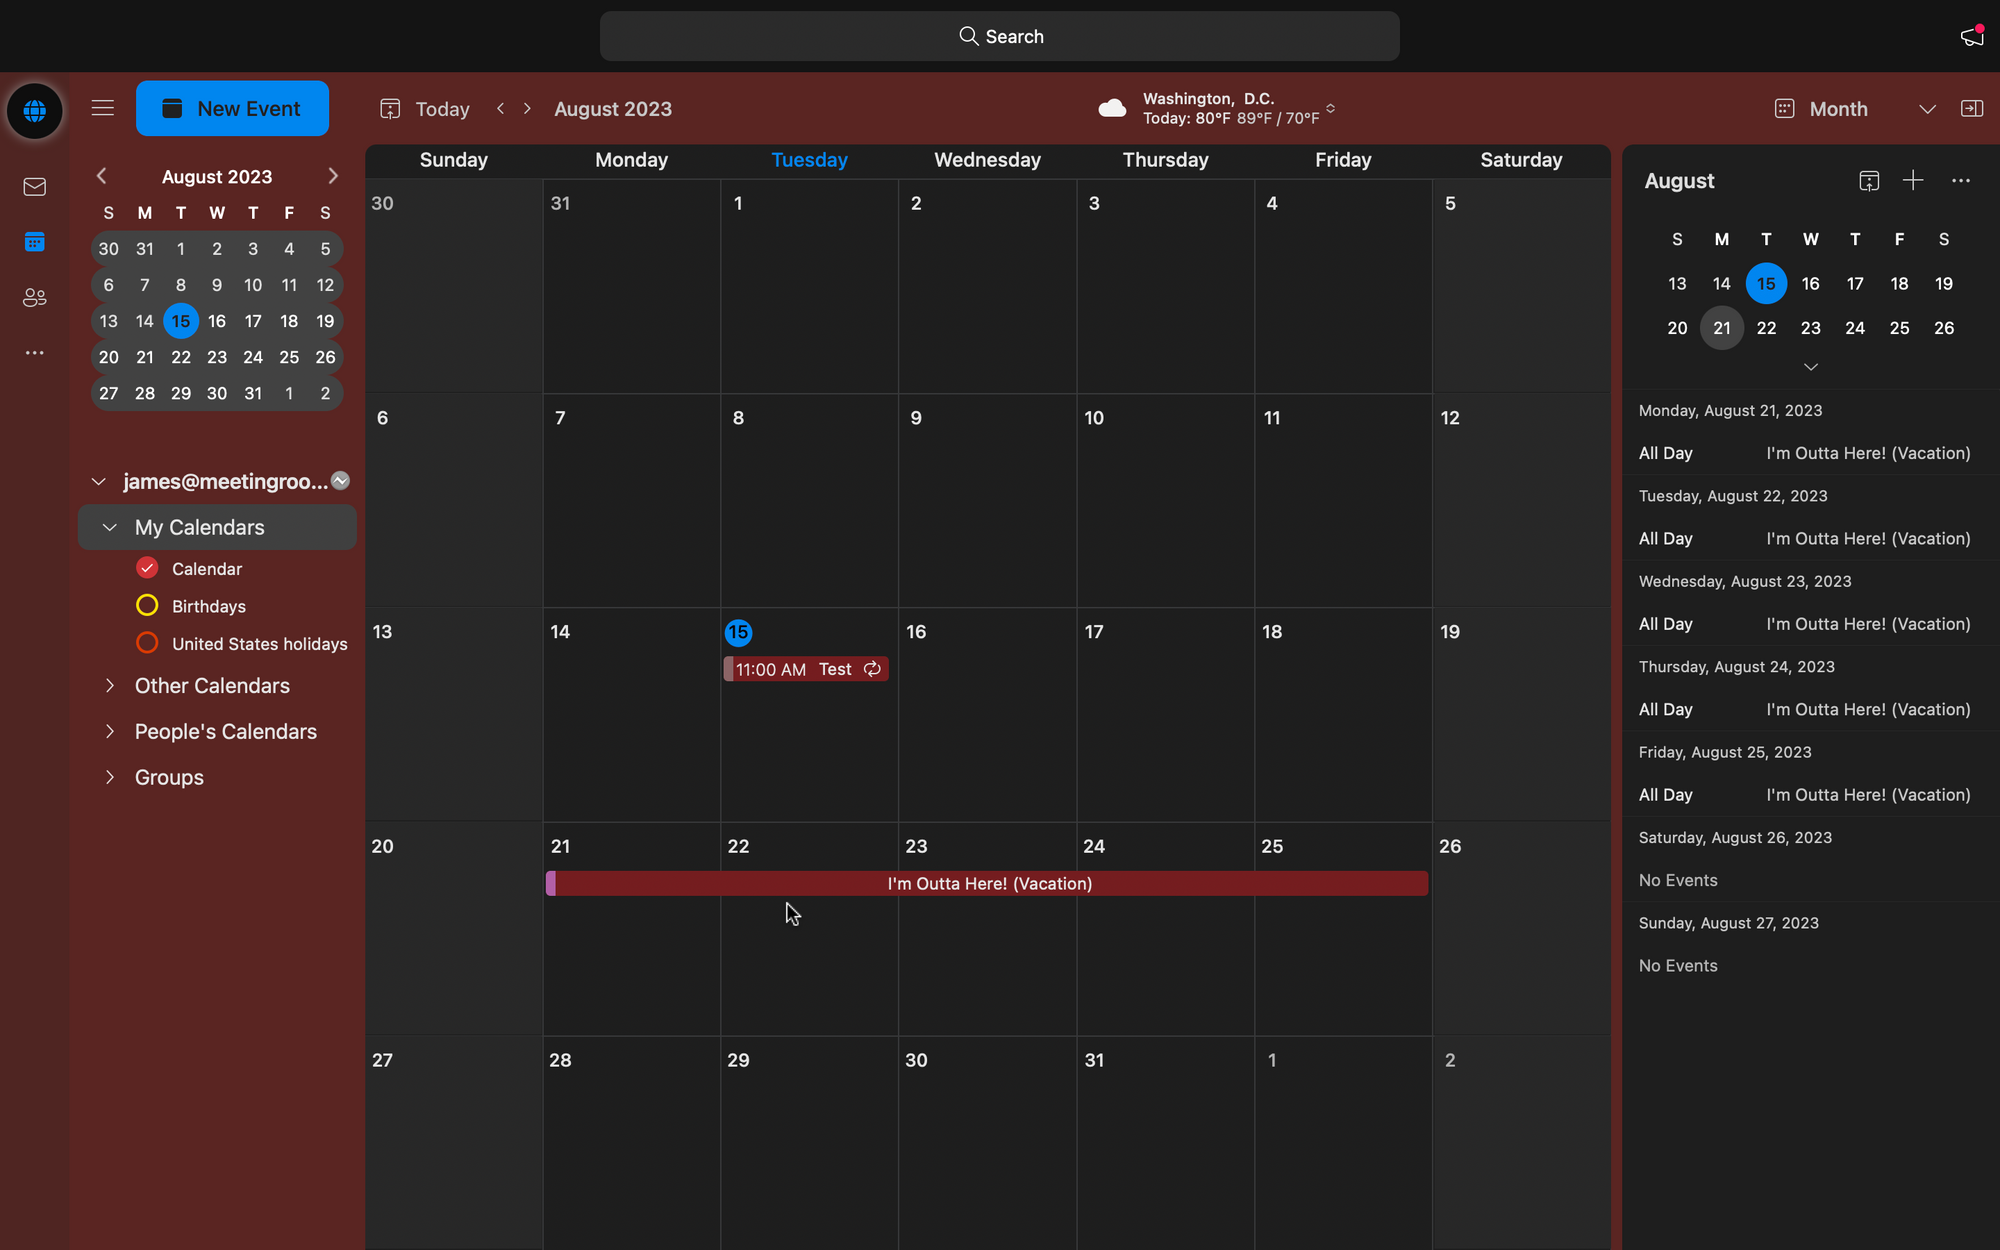
After you are done, select “Save,” and the out-of-office calendar event will appear on the shared calendar of the organization.
Step 5: Add an Out of Office Message in Outlook Web
Now, to prevent people from contacting you during time off, we are going to set up an out-of-office message in Outlook web.
To set up an automatic reply on the web version, go to Settings, select “View All Outlook Settings,” search for “Automatic Replies,” and click on it.
Include the date range of the message, add a customized reply, and save the changes.
Step 6: Click “Save” and Finish Setting Up Your Vacation Time
Finally, save the settings of the out-of-office event, make sure that everything is in order, and let other users check the new event on the calendar. Enjoy your days off!
Summary: How to Set Up “Out of Office” Message in Outlook Calendar
Setting up out-of-office messages and events in Outlook is a great way to inform your coworkers and superiors about your days off, which helps keep things organized. Remember that the steps vary depending on the version of Outlook you use, but overall, these are the main five steps to follow:
- Set up a New Even on the Outlook App or Web Version;
- In status, set “Out-of-Office” or “Away;”
- Add all the details about your days off, including time range, title, location, and more;
- Set up automatic replies to prevent direct contact during your days off;
- Save the changes and enjoy your time out of the office.