Outlook Scheduling Assistant Missing? Here’s the Fix

Managing time, schedules, and meetings inside an organization is not always easy.
Fortunately, Microsoft Office includes many different features for users to schedule a meeting, check out available times, and successfully find rooms by following a quick process.
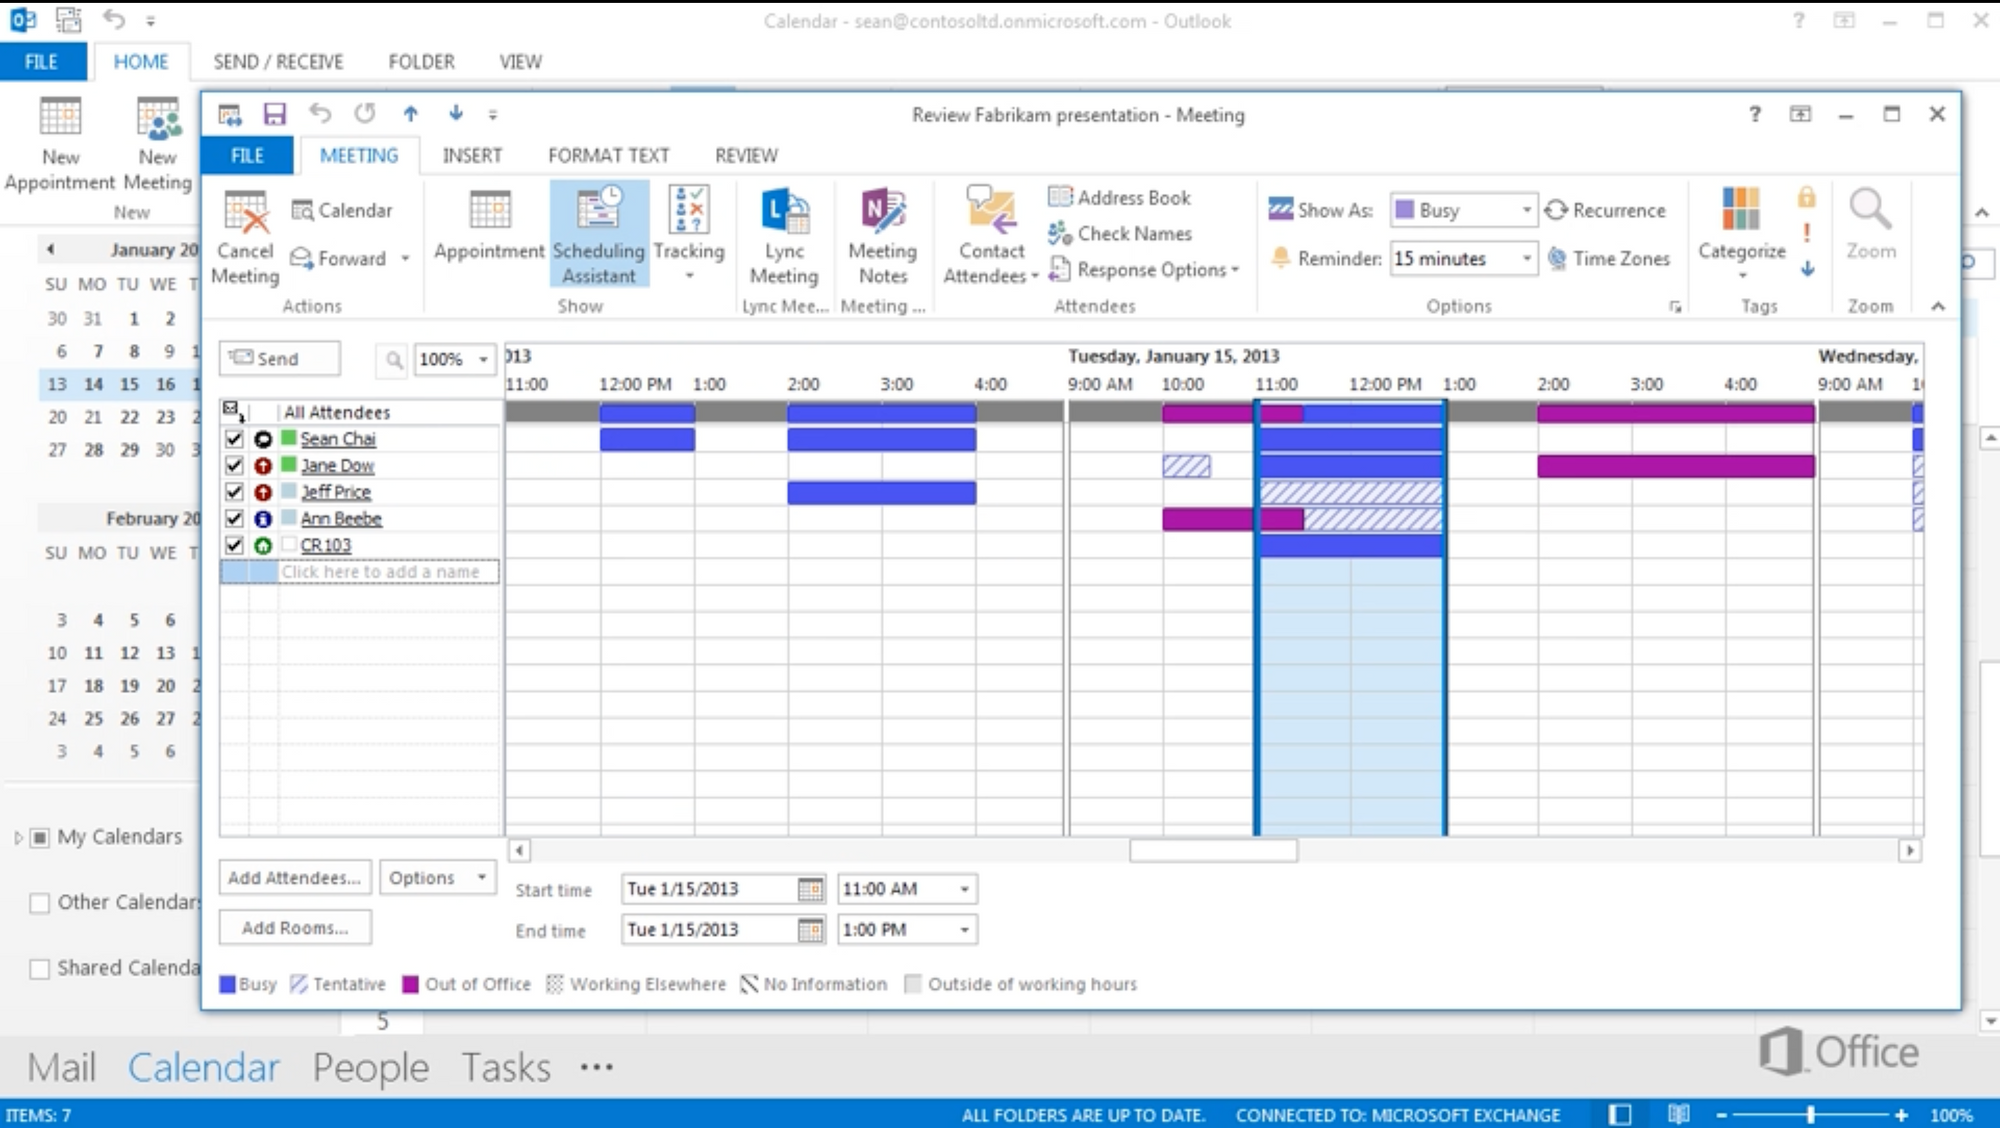
The Outlook Scheduling Assistant is a very useful option that should appear on the ribbon as soon as you open Outlook.
Therefore, if you can’t find the Scheduling Assistant, continue reading to learn how to fix the Outlook Scheduling Assistant missing error on your device.
3 Common Reasons Why Outlook Scheduling Assistant is Missing
According to Microsoft, the Scheduling Assistant icon should appear on Outlook’s ribbon just by having default user’s permission enabled.
This way, you can create and set up appointments with your coworkers and colleagues by simply following the assistant’s instructions.
However, if you cannot use the assistant because the icon is not working properly, then this error might be caused due to three possible reasons.
1. Outdated Outlook Client
Some Microsoft users have encountered problems with the Scheduling Assistant option missing from their interface right after updating Outlook.
If you have recently updated the Windows or Mac desktop client, then you’ll probably be unable to see the Assistant icon until another update is released.
2. Data Overload on Microsoft Outlook
Oftentimes, Microsoft Outlook has too much data to load, which causes bugs and glitches on the server end of the platform.
Note that this can cause the Scheduling Assistant option to disappear without further notice from your screen.
The user might need to restart Outlook in order for the application to load properly on their device.
3. Wrong Outlook Settings
It is possible that some Microsoft account settings have changed without further notice on your profile.
In the event this happens, the person would need to manage their settings in order to make the Scheduling Assistant button appear again.
How to Fix Missing Outlook Scheduling Assistant
In case you can’t see the Outlook Scheduling Assistant button on the new event window as you open Microsoft Outlook, then you will need to manually or automatically re-enable it by following a few steps.
These are the best four ways to fix Outlook Scheduling Assistant missing.
Fix #1: Update Microsoft Office
The first method consists of installing Microsoft Office updates. According to the answer on Microsoft’s official website, this is how you can update Microsoft Office:
- Exit all Office apps, including Microsoft Outlook, and go to the Microsoft Store;
- Sign into your Microsoft profiles, and click the three-dots button at the right side of the screen to go to Settings;
- Look for Download and Updates and click Get Updates;
- Search for the Microsoft Outlook icon, and start the update download;
- Wait for the update to download, go back to the Calendar view of Outlook, and see if the Scheduling Assistant option is there.
Fix #2: Automatically Enable Outlook Scheduling Assistant Button on the Ribbon
Perhaps the Outlook Scheduling Assistant option is not showing because the button has been deactivated from the ribbon.
Normally, when you access Microsoft Outlook, you can see the Scheduling Assistant button by finding it on the main ribbon menu right in the group of icons. But you’ve noticed that the icon is not there, do this:
- Launch Outlook and click the “New Meeting” option, next to File. You can also open New Meeting by pressing Ctrl Key + Shift +Q;
- Rick-click on the ribbon, and select Customize Ribbon;
- Select the checkbox that says “Scheduling Assistant” in case it’s not selected, and save the changes by clicking “OK.”
Fix #3: Manually Enable Outlook Scheduling Assistant on the Ribbon
If automatically enabling the Scheduling Assistant icon didn’t work, then try to add it manually by following these steps:
- Open the Customize Ribbon option by following the aforementioned steps;
- Under Main Tabs, select the New Group icon to start creating a customized command;
- On the “Choose Command List” at the left side of the screen, look for Scheduling;
- Click on Scheduling, and click on Add to add it to the new group. The Scheduling Assistant icon should appear on the ribbon afterward.
Fix #4: Reinstall the Outlook Client
If the issue persists, then it’s time to reinstall Outlook.
Reinstalling Microsoft Outlook is a great way to install the most up-to-date version of the app, and you can do it like this:
- Delete the Microsoft Outlook desktop client by going to your Control Panel on Windows and selecting Outlook from the App List;
- Go to the Office website and sign into your Microsoft Office account;
- After signing into your account using your mail and credentials, look for the Apps screen and select Install Apps;
- Select Install, and find the Outlook icon to start the installation process.
How to fix Other Outlook Scheduling Assistant Missing Data Errors
Sometimes, instead of missing the Outlook Scheduling Assistant icon, you’ll also be missing important information that the assistant should provide. If this happens to you, then do the following.
1. Outlook Scheduling Assistant Not Showing Other People Schedules
If Outlook Scheduling Assistant is not showing other people’s schedules, then try this quick-repair solution:
- Launch Microsoft Outlook and click the File option;
- Select Options, and then look for the Mail button;
- Click on Empty Auto-complete List, and restart Outlook for confirmation;
- You should now be able to see the schedules of your coworkers via the Scheduling Assistant.
2. Outlook Scheduling Assistant Not Showing All Hours or Rooms
If the Scheduling Assistant is missing hours and room info, there are a couple of things you can do.
For starters, for the hours, open the Scheduling Assistant on Outlook, and look for the Options menu. Then, uncheck the box that says, “Show only my working hours.” Afterward, all hours will successfully show.
Likewise, if available rooms are not showing on the Scheduling Assistant, it might be necessary to add the information, addresses, and availability of these conference rooms manually in order to fix the issue.
3. Outlook Scheduling Assistant Missing Availability Info
If the Scheduling Assistant is missing availability info on attendees, then follow these steps:
- Open Microsoft Outlook in Safe Mode by right-clicking the app icon;
- Try to run the Scheduling Assistant, and if it doesn’t show all info, go to Files and select Add-Ins under the Options menu;
- Here, select manage, and then choose COM Add-Ins;
- Uncheck all the add-ins, and open Outlook in Safe Mode again. Now, the availability info should not be missing.
Summary: How to Fix Microsoft Outlook Scheduling Assistant Not Showing
Scheduling meetings is way easier by using Outlook’s Scheduling Assistant. So, if this option is not appearing, you can troubleshoot it by following a few solutions:
- Updating Outlook to the latest Microsoft Office version is the first thing that users should try;
- If this doesn’t work, automatically adding the Scheduling Assistant icon via the “Customize Ribbon” menu is the way to go;
- It might be necessary to manually add the Scheduling Assistant icon by creating a group and adding the Scheduling command;
- In case all of this fails, reinstalling Outlook might do the trick;
- Lastly, if the Outlook Scheduling Assistant is missing vital info, try to change certain settings by following our previously mentioned solutions.
FAQ
Why Can’t I See Scheduling Assistant in Outlook?
You can’t see the Scheduling Assistant in Outlook because the Microsoft Office app is outdated, there’s a problem related to Outlook’s data loading, or there are wrong settings enabled on your Microsoft Outlook account.