How to Enable-organizationcustomization in Powershell

Fine-tuning certain organizational settings is necessary to meet the unique demands of your organization.
Although it’s possible to use the Exchange Admin Center to modify all kinds of settings, we can also do this via PowerShell, allowing more granular control of the things we change.
But in order to make changes, we first need to allow these changes in our Exchange Online Organization.
Let’s learn how to Enable-OrganizationCustomization in PowerShell by following a couple of easy steps.
What is Enable-OrganizationCustomization?
Enable-OrganizationCustomization is a cmdlet available only in the cloud-based service used to enable customization settings in an Exchange Online Organization.
Enable Organization Customization allows admins to modify certain objects (configuration objects) through Exchange Online PowerShell. After enabling Organization Customizations, it will be possible to change many Microsoft 365 settings of specific organizations.
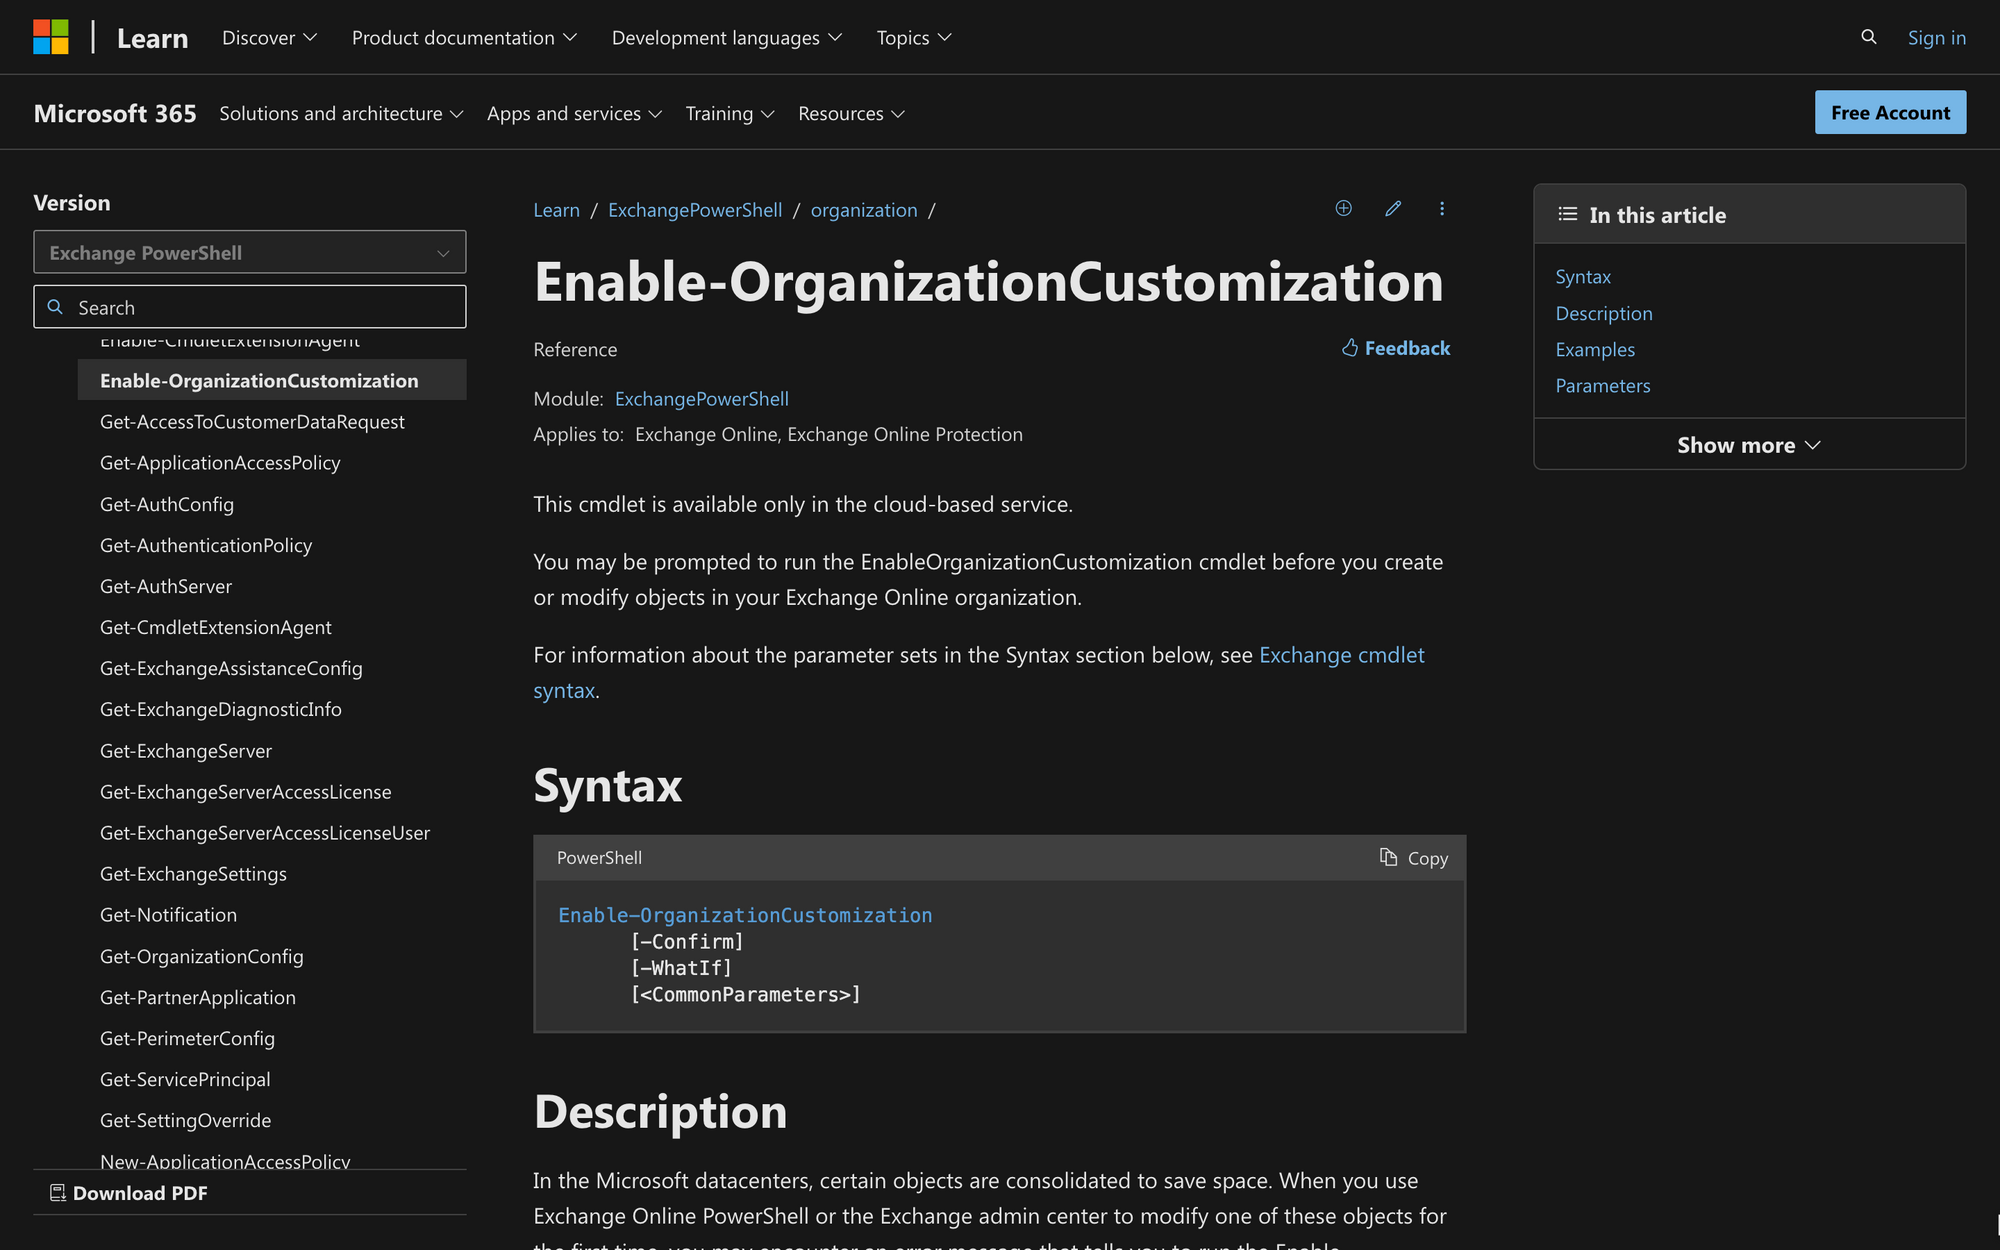
The syntax of the cmdlet is the following:
As you can see, the syntax of the cmdlet is quite simple. This is the meaning of the parameters and switches of the cmdlet:
- Confirm: Prompts the user for confirmation before executing the Enable-OrganizationCustomization cmdlet, ensuring intentional and informed execution;
- WhatIf: Allows users to preview potential changes without actually applying them, providing insight into the impact of customization actions.;
- CommonParameters: Represents parameters common to all cmdlets, offering additional control and information during the execution of the Enable-OrganizationCustomization cmdlet.
What Can You Use Enable-OrganizationCustomization For?
Enable-OrganizationCustomization opens the door to make further changes in an Exchange Online Organization, such as the following:
- Customizing Organization Attributes: You can use the cmdlet to enable customization of organization attributes, allowing you to change consolidated Exchange Online Settings;
- Create or Modify Any Outlook Web Mailbox Policy: Enables the customization of themes for built-in Outlook Web App (OWA), providing the ability to create new Outlook policies or modify custom OWA mailbox policies;
- Updating Customization Settings for Role Assignment Policies: This cmdlet is applied when creating a new role assignment policy or modifying built-in role assignment policies, allowing administrators to customize and access new management role assignment features;
- Adapting Organization-Wide Sharing Policies: Enable-OrganizationCustomization is also used when creating new sharing and preset security policies or modifying built-in sharing policies, enabling organizations to customize how users can share information in Exchange web services;
- Configuring Retention Policies: Applied when creating new retention policies or modifying any built-in retention policy, allowing organizations to customize the retention settings for emails and other content, ensuring Exchange online protection, and helping the organization to save space as required.
Prerequisites to Use Enable-OrganizationCustomization Cmdlet in PowerShell
Before running Enable-OrganizationCustomization, it’s necessary to have the latest module version of PowerShell installed and full admin permissions.
Since changing organization settings can be a delicate matter, only admins can run this cmdlet.
You may also check cmdlets permissions by running the following PowerShell script:
Replace <cmdlet> with Enable-OrganizationCustomization, as shown in the following example:
This will return the roles and permissions you’ll need to run the Enable-OrganizationCustomization cmdlet.
In case you are missing permissions, contact your organization admin for further assistance.
How to Use Enable-Organization Customization
Now you know it - you want to change a role group, modify objects, start enabling preset security policies, and modify individually configured organization settings, you need to learn how to use Enable-OrganizationCustomization in PowerShell.
Step 1: Connect to Exchange Online PowerShell
The first step consists of connecting to the Exchange Online PowerShell environment.
To do so, run PowerShell on your computer, and on the prompt window, type in the following command:
Replace “[email protected]” with your own Microsoft account email, and use your credentials to log in.
Step 2: Run the Enable-OrganizationCustomization Cmdlet
Now, it’s time to run the cmdlet. Type in the following command on the PowerShell prompt window:
After running the cmdlet, you will not see a visual output on the PowerShell screen (blank output). Instead, when successfully executed, it enables organization customization settings for your Exchange Online environment.
Therefore, enabling organization customization is just the first step - now, it’ll be necessary to use other commands to make the changes.
That’s all you need to do to run Enable-Organization Customization - this simple cmdlet is just the appetizer to unleashing a world of customization possibilities within your Microsoft 365 environment.
Why is Enable-OrganizationCustomization Not Working?
Although Enable-OrganizationCustomization does not return any output, it might as well return an error message. If this happens to you, check out the following steps to fix it.
1. Dehydrated State of the Tenant
If you are failing to enable organization customizations, the error may be due to a dehydrated state in the Microsoft Office 365 / Exchange Online tenant, which consolidates objects for space saving purposes.
In this case, open PowerShell as a Global Administrator and type in the following command:
If it says "True," your Exchange Online setup is compressed, and you need to enable customization again with sufficient permissions. If it says "False," your Exchange Online is not compressed, and you're good to go with Exchange Online tenant’s organization customization.
2. Insufficient Permissions
Before running Enable-OrganizationCustomization, ensure that you have the required permissions.
If you're uncertain about the necessary permissions, review the permissions assigned to your account using the Get-ManagementRoleAssignment cmdlet as mentioned before.
Remember that only users with Administrator Permissions are allowed to run organization-changing commands.
3. The Enable-OrganizationCustomization Command Was Already Run
It is important to know that you need to run the Enable-OrganizationCustomization command only once in your Exchange Online setup.
If you try running it again, you'll encounter an error message.
This is because the customization command is a one-time action for your organization. The same error might repeat if someone attempts to change the selected configurations, so watch out.
Summary: How to Use Enable-Organization Customization
Enable-Organizationcustomization is the first cmdlet you’ll use to customize your organization’s environment to your needs. Before implementing it, check out the following summary:
- The Enable-OrganizationCustomization cmdlet is used to “turn on” customization settings for organization - other cmdlets help admins implement new settings, as Enable-Organization Customization is just the starting point for further changes;
- Make sure to have enough admin permissions before attempting to run this cmdlet. Since there is no visual output, it can be difficult to determine if it was activated before;
- If the Enable-OrganizationCustomization cmdlet is not working, check the Dehydrated State of the tenant, ensure that you have sufficient permissions, and make sure that the cmdlet runs just once.