TL;DR
1
Access Admin Portal
Navigate to the Schedule tab and select your domain.
2
Customize Schedule
Choose a theme and any filters as needed.
3
Get Shareable Link
Receive a link or embed code for your schedule.
4
Embed Schedule
Copy the embed code or make tweaks as necessary.
Let's Do It Together!
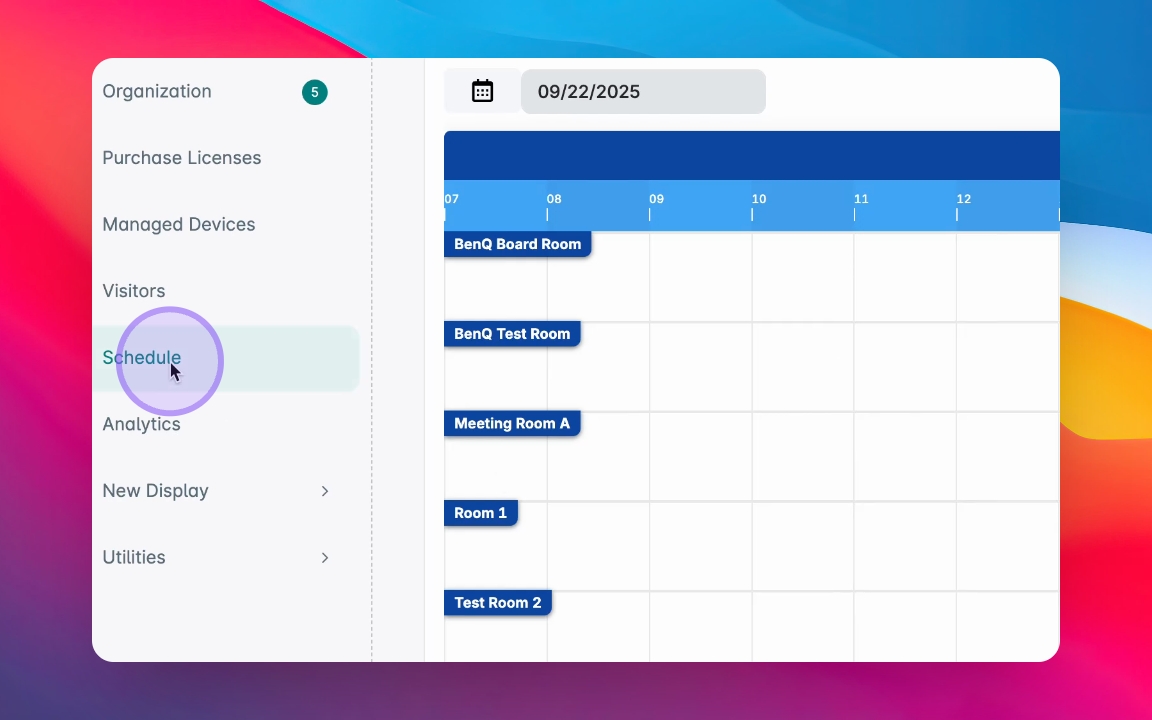
Step 1: Navigate to Schedule Tab
Open the Admin Portal and navigate to the Schedule tab.
Select the domain for which you want to create a schedule.
You will be ready to customize your meeting room schedule.
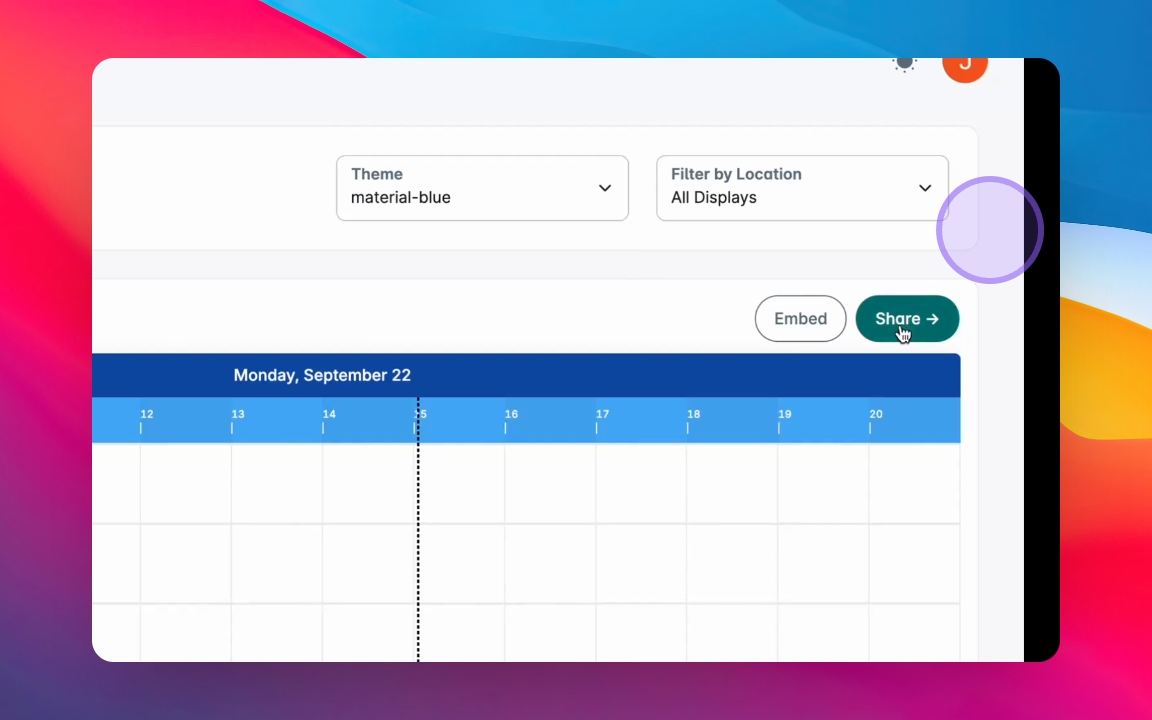
Step 2: Customize Your Schedule
Select a theme for your schedule.
Optionally, apply filters to display a specific group or location.
Your schedule is now customized based on your selections.
Step 3: Share Your Schedule
You will receive a shareable schedule page.
You can choose to embed it on your website or get a URL to share.
You are now ready to share your meeting room schedule.
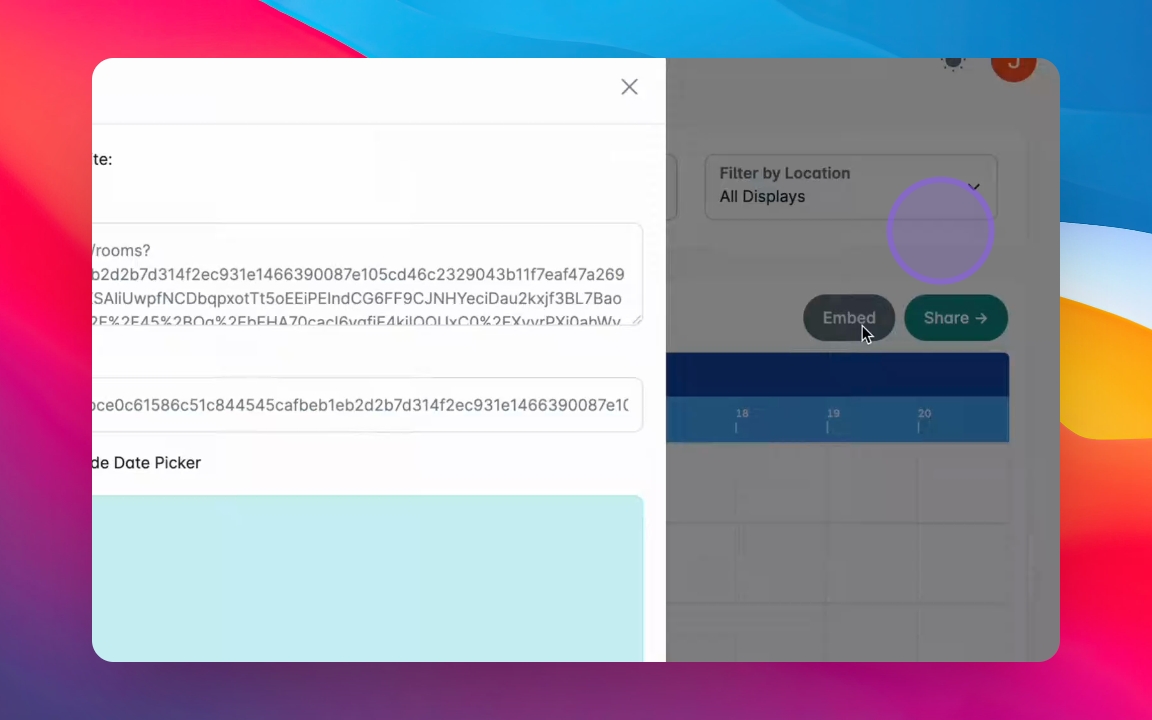
Step 4: Embed Options
If you choose to Embed, copy the URL code or the HTML code.
You can also make tweaks to how it will look on your web page.