A service user is one Microsoft 365 account that connects many room mailboxes to Meeting Room 365. You sign in once as the service user, instead of once for each room mailbox. Use it for many displays, or when your tenant blocks sign-in to room mailboxes.
Give the service user access to each room mailbox
The service user needs to read and change events in each room calendar. Give it Read and manage (Full Access) permission on each room mailbox. Do this before you create the displays.
- Sign in to the Exchange admin center.
- Go to Recipients, then Resources.
- Select the room mailbox.
- Select the Delegation tab.
- Next to Read and manage (Full Access), select Edit.
- Add the service user.
- Save the change.
Repeat these steps for each room mailbox. Microsoft's own guide is Manage resource mailboxes in Exchange Online.
Create the displays
You can sign in to Meeting Room 365 with any account. You do not have to sign in as the service user.
- Sign in to the Meeting Room 365 Admin Portal.
- In the menu, select New Display, then Meeting Room.
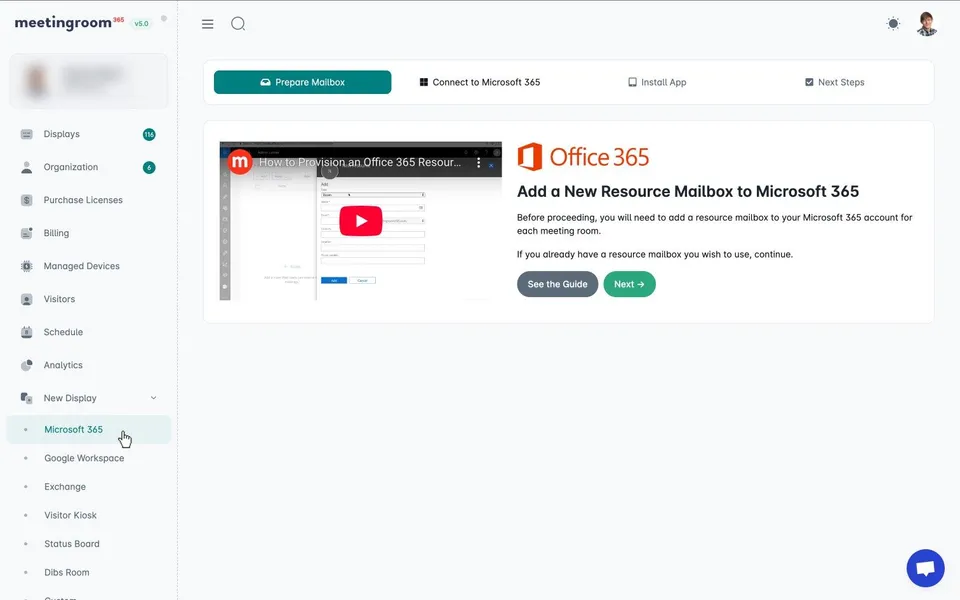
- Select Microsoft 365.
- Select Set up a Service User Account.
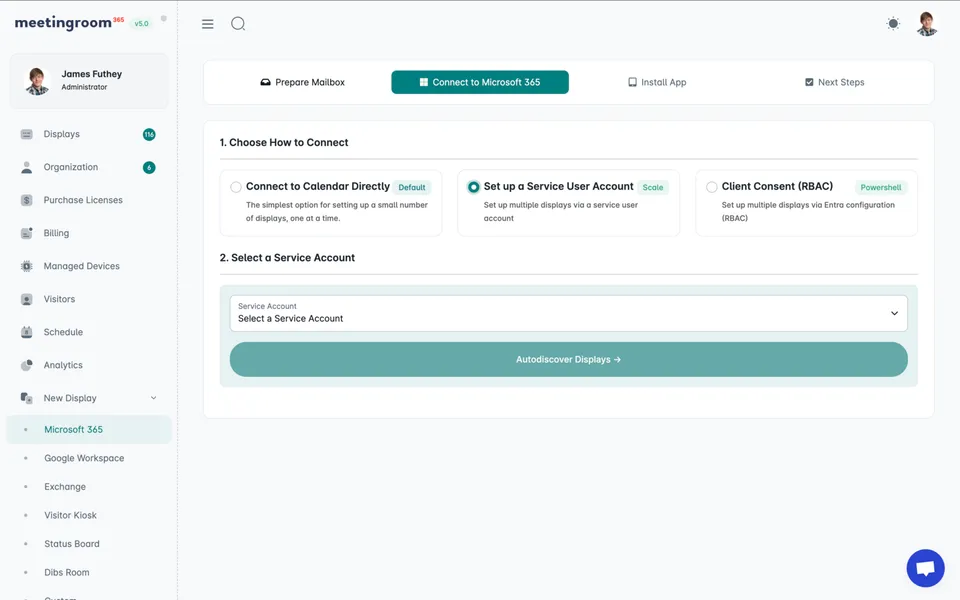
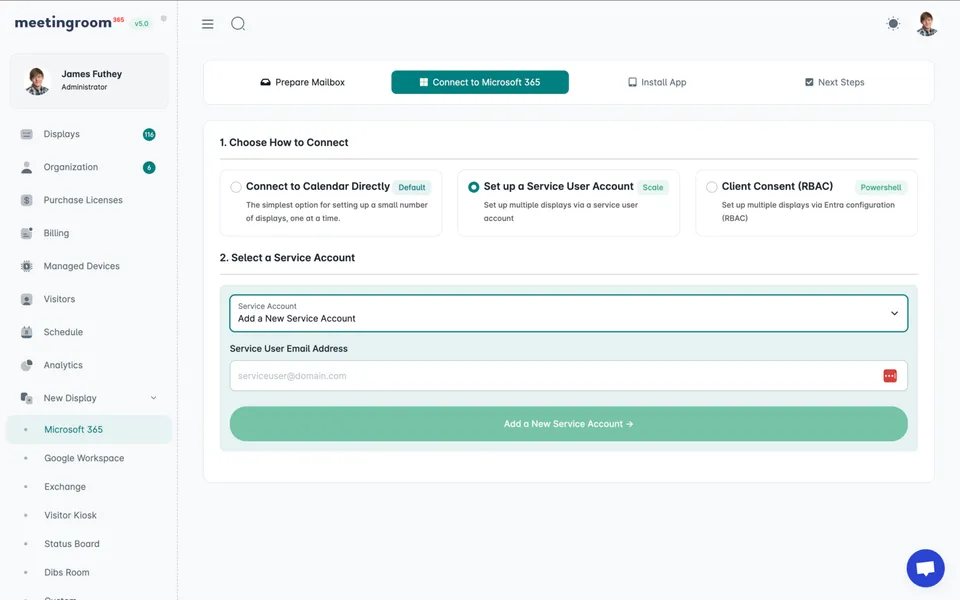
- Under Select a Service Account, select Add a New Service Account.
- Enter the Service User Email Address, then select Add a New Service Account.
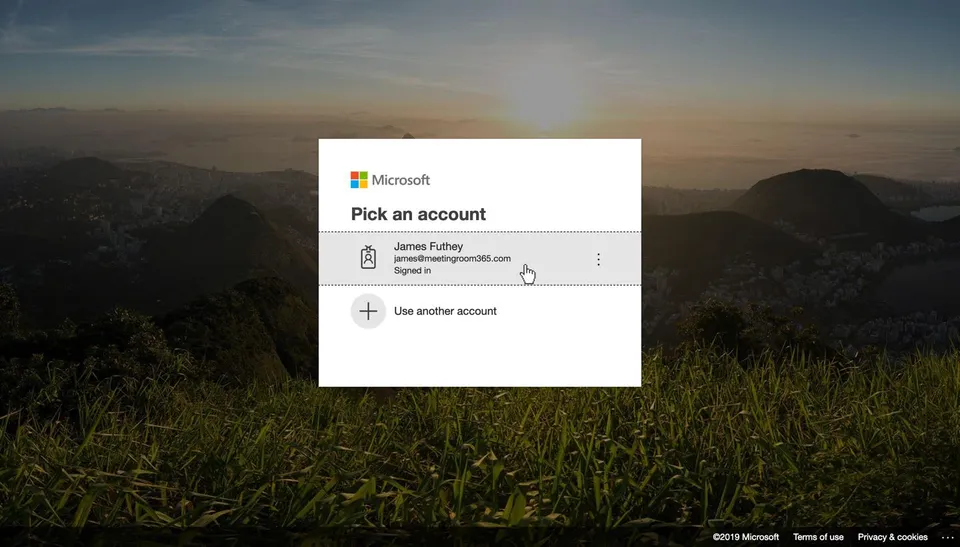
- Sign in to Microsoft as the service user. Microsoft sends you back to Meeting Room 365.
- Select Autodiscover Displays. The portal lists the room mailboxes in your tenant.
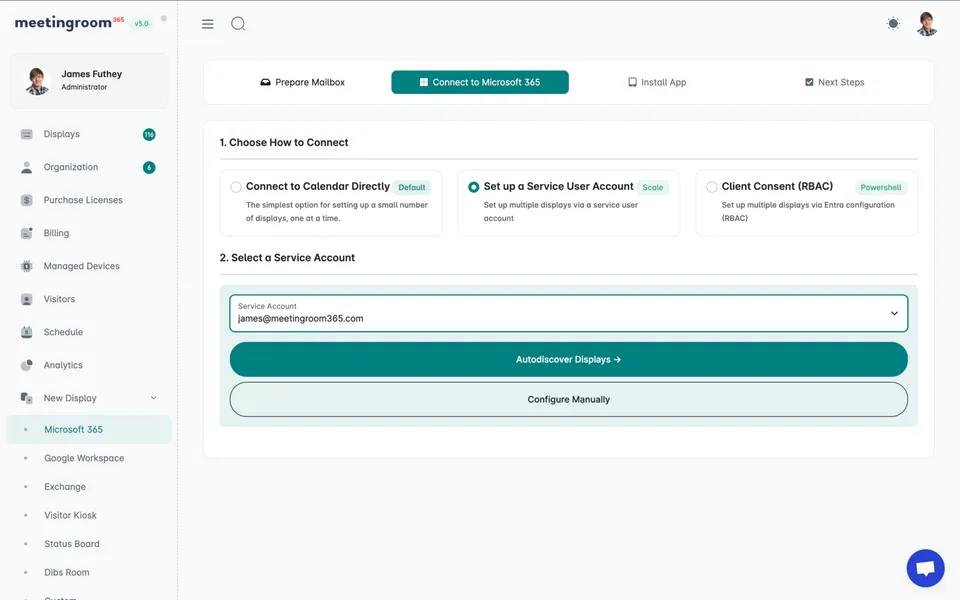
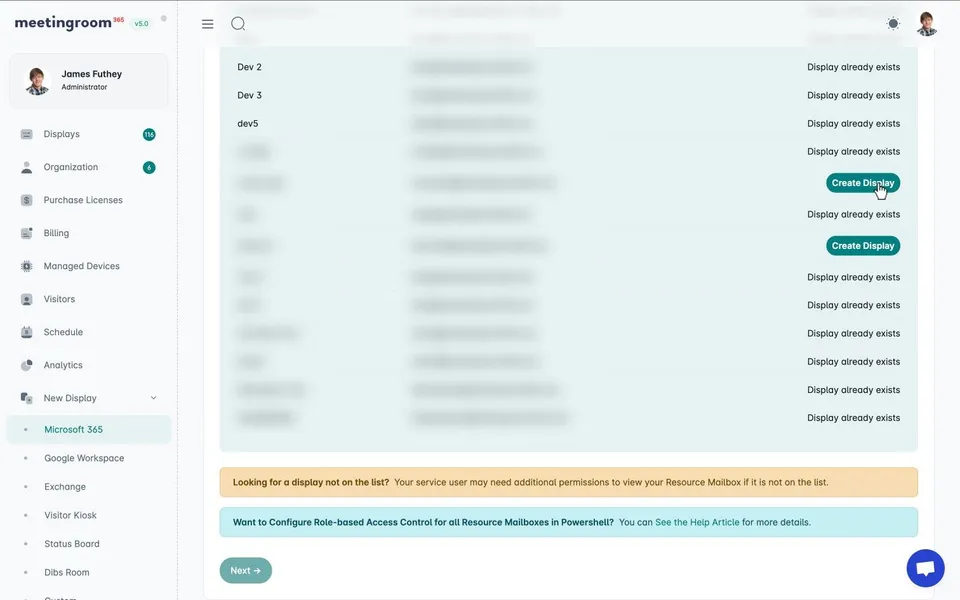
- Select Create Display for each meeting room. A room that already has a display shows Display already exists.
- Copy the Display Keys. You enter one Display Key on each tablet.
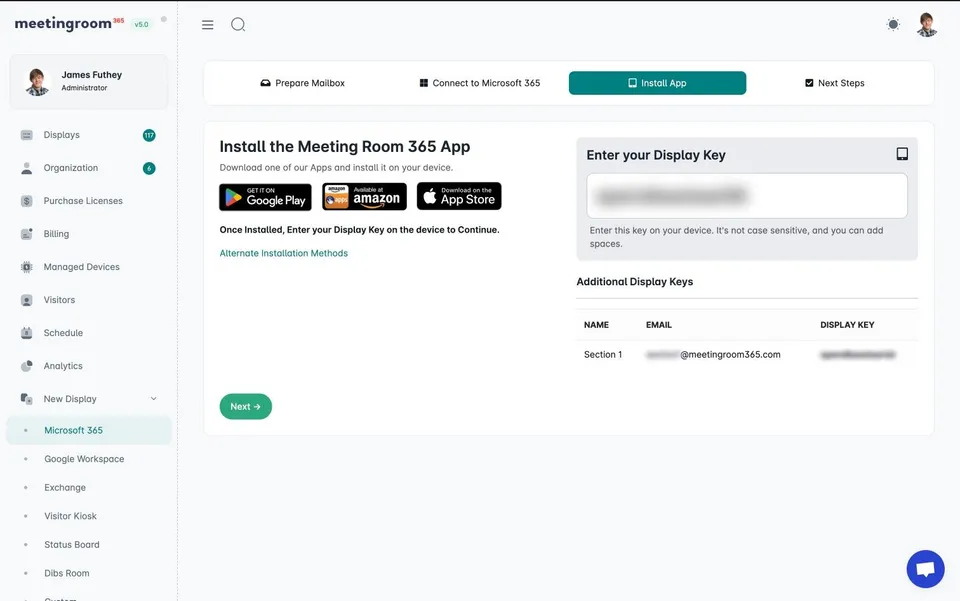
On the tablet, open the Meeting Room 365 app, select Enter Display Key, and enter the Display Key.
If a room is not in the list
Autodiscover shows only the first 100 rooms in your tenant. This is a Microsoft limit. To add any other room, select Configure Manually, enter the Resource Mailbox Email Address, then select Create Display.
If a display does not work after you create it, check that the service user has Full Access to that room mailbox.
If the portal shows Reauthorize Service User, select it and sign in as the service user again.
If you are stuck, contact us from your admin portal. We can help you with setup, configuration and provisioning.